Post by NateG on Feb 24, 2013 23:18:55 GMT -5
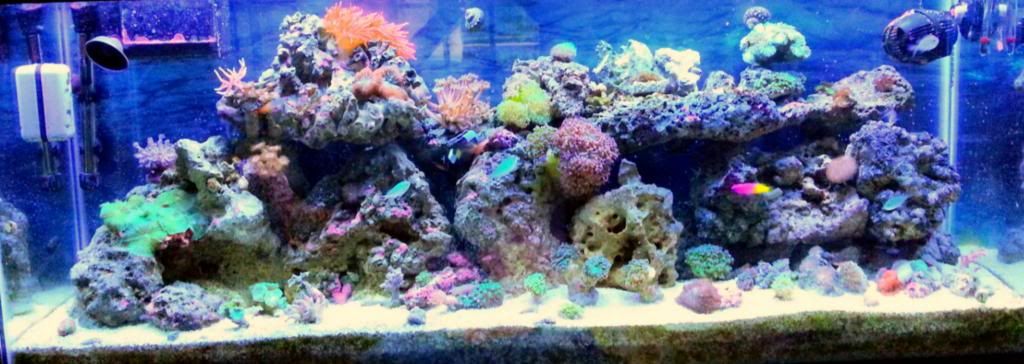
The general goal of this build, is of course to have a lovely looking aquarium that myself and guests may enjoy. However, too often have I heard of someone getting out of the hobby because maintenance was too much work. More often than not, I've found that folks lack the motivation to properly maintain a reef tank because their efforts don't always translate to a happier/healthier/prettier aquarium. This is because many of the good things we do to our aquarium, cannot be seen for many weeks or even months.
I realize that many home aquarists would not go through the trouble/effort to create a system such as this one. But I'd like to think that anyone looking to have a 60 Cube Reef Tank would happily work on this one. And so...
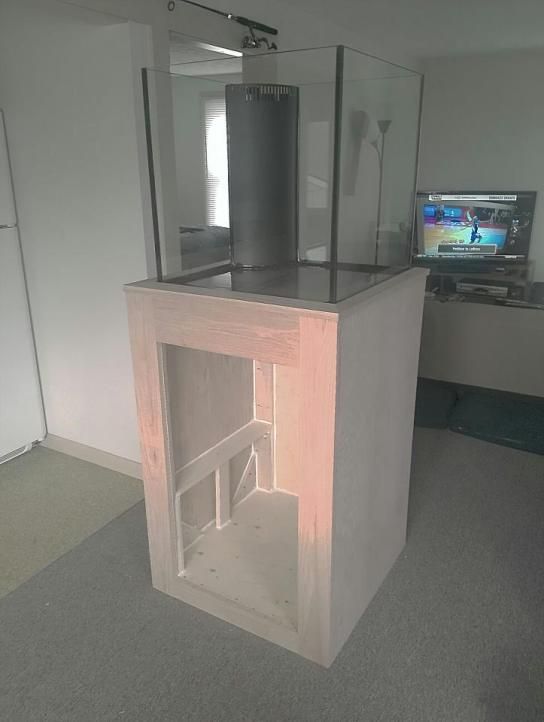
I pulled the trigger and bought a Deep Blue 60 Cube. Picked it up last Thursday. I'll be building my own sump from scratch.
The stand is made from: poplar, poplar ply, red oak and red oak ply. Im sure I could have gotten away with using pine instead of poplar. But f poplar is very moisture resistant and it doesn't warp/shrink/swell very much over time (all 3/4). I used "waterproof" wood glue on all connections. The progress I've made took about 18 hours and I'm not close to done.
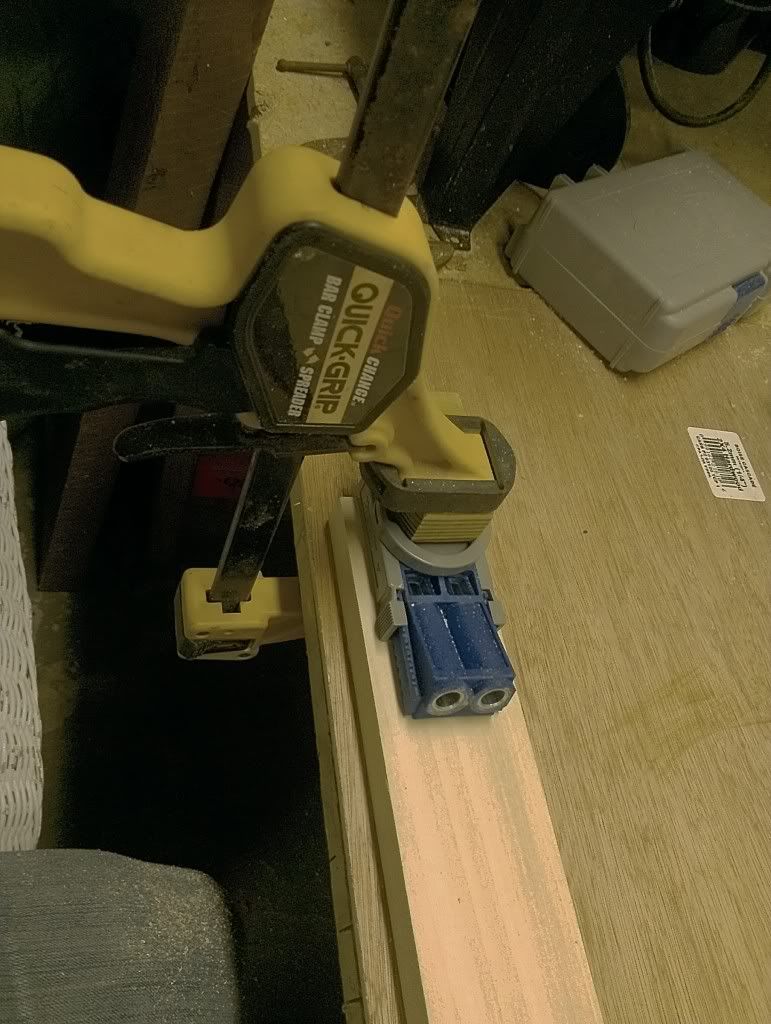
Pocket screw jig. Shockingly simple to use. Unless of course you get tired and don't clamp it down tight enough. Which i did once. Really unhappy about that but oh well (these mistakes are how we get good at things).
 i256.photobucket.com/albums/hh165/Sokretys/IMAG0358_zps54984191.jpg"]
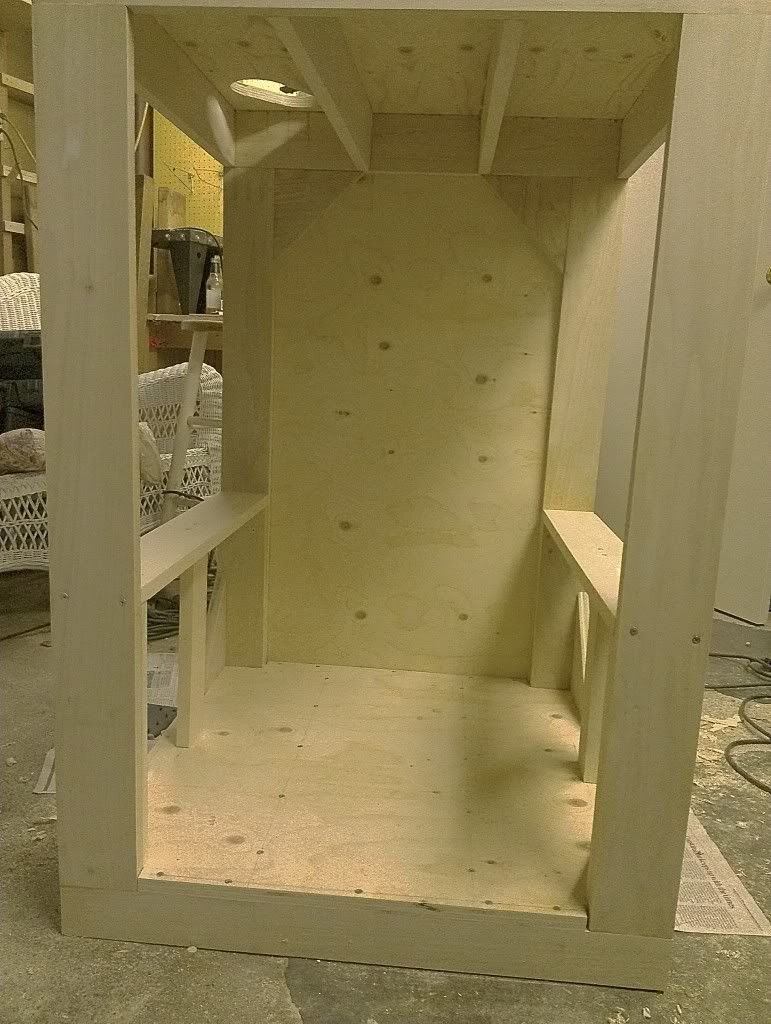
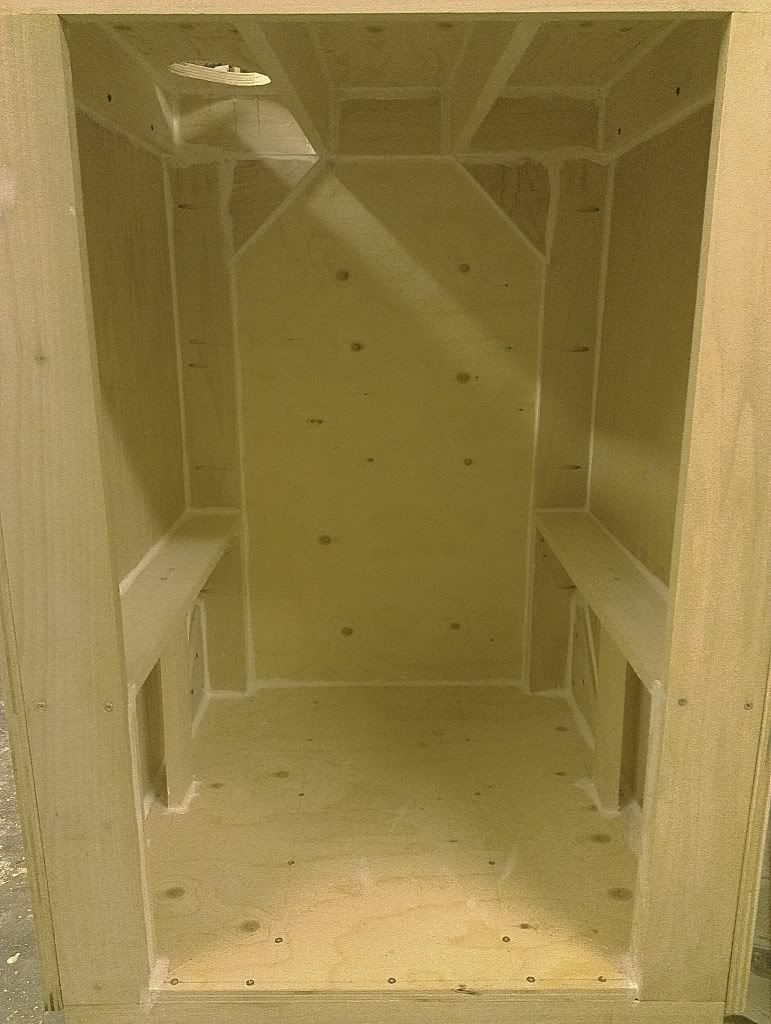
Poplar frame w/ poplar ply on back, top and bottom. The "stand" on the left and right will hold a 3.5 gallon RO reservoir (on each side).
 i256.photobucket.com/albums/hh165/Sokretys/IMAG03591_zps30d9b8da.jpg"]
Here you can see my pocket screw mistake on the back left. The hole was drilled too close to the edge...But ill be filling in those holes with wooden plugs as i did with all of the others. I will be painting the entire inside with enamel. I also used GE silicone 2 on all of the seems in there. Sloppy but functional/practical.
 i256.photobucket.com/albums/hh165/Sokretys/IMAG0361_zps70407630.jpg"]
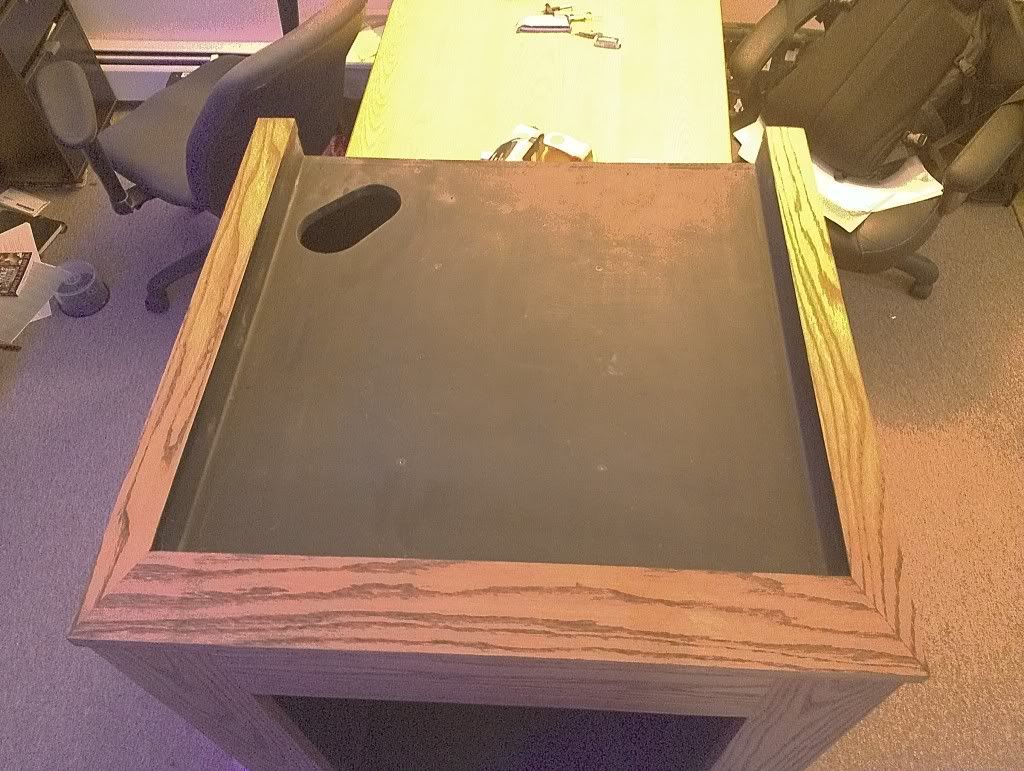
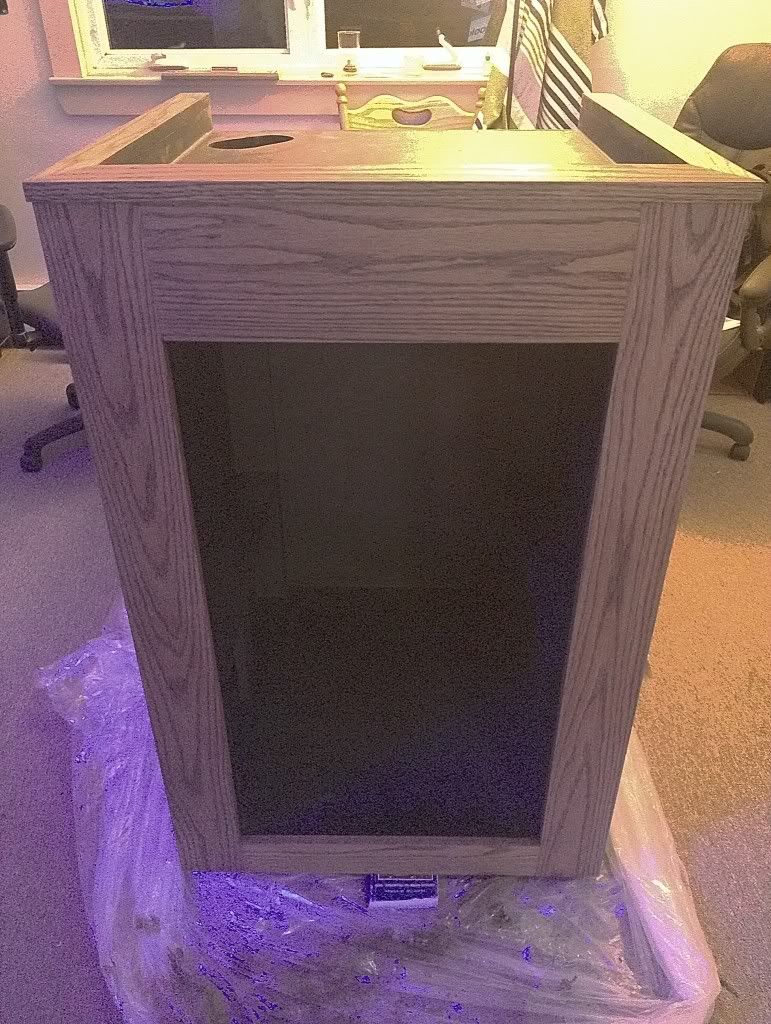
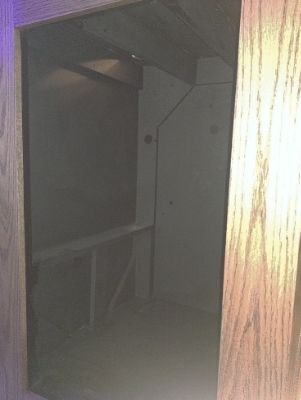
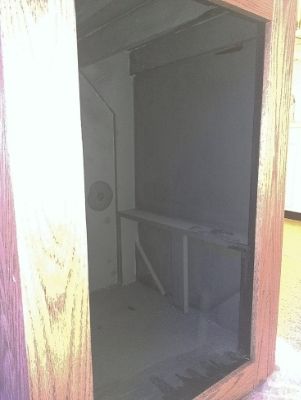
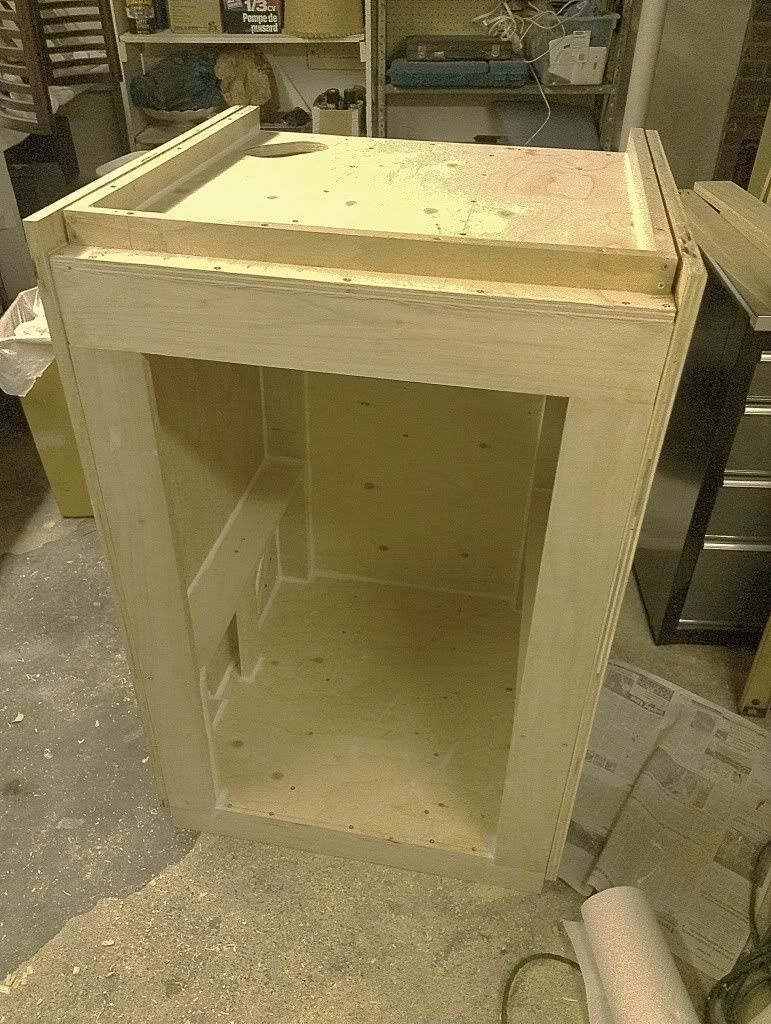
Here is how I just left it for the weekend. The cube will sit on top of 3/4 foam. The black rim on the bottom of the tank will be flush with the oak trim. The top shelving will be 2" of oak on the left and right. As well as 4" in the front. The stand is 44.25" tall. It was supposed to be 42 but I had a wicked brain fart when sizing the poplar uprights (overlooked factoring in the recessed top to the equation). It does however allow more room for plumbing, which will soon prove to be valuable.
The front will be a solid a oak rectangular frame. I have yet to decide what to do with the doors. I hope to have them well sealed as they will be subject to a great deal of varied conditions.
 i256.photobucket.com/albums/hh165/Sokretys/IMAG0360_zps4fd7e5fb.jpg"]
I realize that many home aquarists would not go through the trouble/effort to create a system such as this one. But I'd like to think that anyone looking to have a 60 Cube Reef Tank would happily work on this one. And so...
I pulled the trigger and bought a Deep Blue 60 Cube. Picked it up last Thursday. I'll be building my own sump from scratch.
The stand is made from: poplar, poplar ply, red oak and red oak ply. Im sure I could have gotten away with using pine instead of poplar. But f poplar is very moisture resistant and it doesn't warp/shrink/swell very much over time (all 3/4). I used "waterproof" wood glue on all connections. The progress I've made took about 18 hours and I'm not close to done.
Pocket screw jig. Shockingly simple to use. Unless of course you get tired and don't clamp it down tight enough. Which i did once. Really unhappy about that but oh well (these mistakes are how we get good at things).
 i256.photobucket.com/albums/hh165/Sokretys/IMAG0358_zps54984191.jpg"]
Poplar frame w/ poplar ply on back, top and bottom. The "stand" on the left and right will hold a 3.5 gallon RO reservoir (on each side).
 i256.photobucket.com/albums/hh165/Sokretys/IMAG03591_zps30d9b8da.jpg"]
Here you can see my pocket screw mistake on the back left. The hole was drilled too close to the edge...But ill be filling in those holes with wooden plugs as i did with all of the others. I will be painting the entire inside with enamel. I also used GE silicone 2 on all of the seems in there. Sloppy but functional/practical.
 i256.photobucket.com/albums/hh165/Sokretys/IMAG0361_zps70407630.jpg"]
Here is how I just left it for the weekend. The cube will sit on top of 3/4 foam. The black rim on the bottom of the tank will be flush with the oak trim. The top shelving will be 2" of oak on the left and right. As well as 4" in the front. The stand is 44.25" tall. It was supposed to be 42 but I had a wicked brain fart when sizing the poplar uprights (overlooked factoring in the recessed top to the equation). It does however allow more room for plumbing, which will soon prove to be valuable.
The front will be a solid a oak rectangular frame. I have yet to decide what to do with the doors. I hope to have them well sealed as they will be subject to a great deal of varied conditions.
 i256.photobucket.com/albums/hh165/Sokretys/IMAG0360_zps4fd7e5fb.jpg"]


