|
|
Post by industry on Dec 9, 2012 21:30:51 GMT -5
Well, I started on my stand. Rough cut 2x6 hemlock. Should be plenty to hold my 125g. Pics to follow. 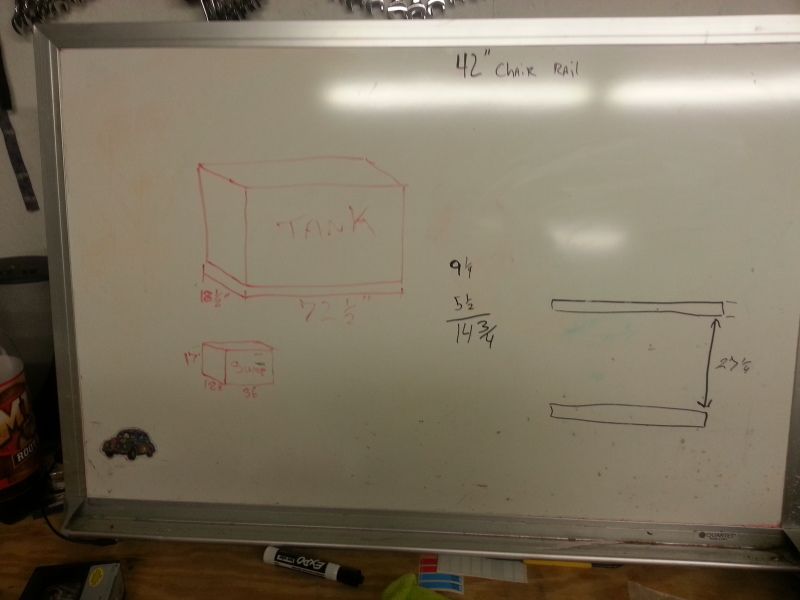 The proverbial Drawing Board. 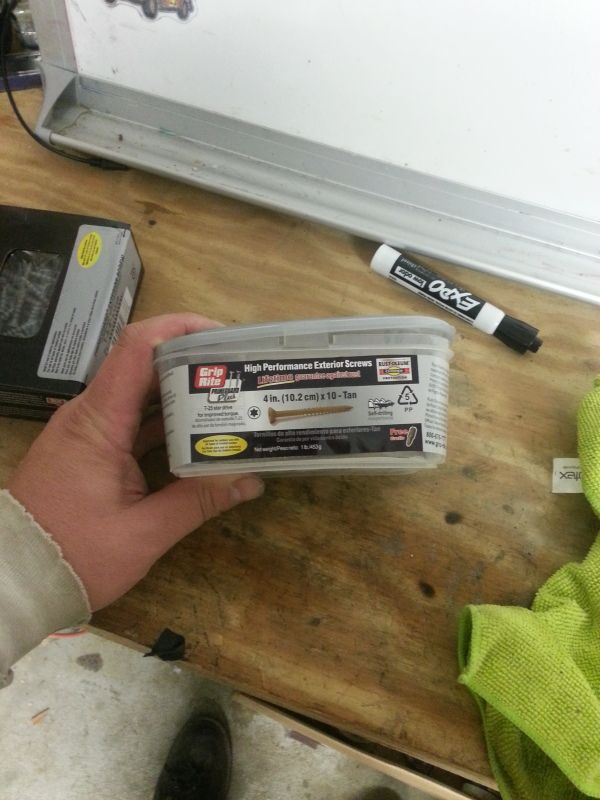 1 full pound of 4" deck screws in this stand. |
|
|
|
Post by industry on Dec 9, 2012 21:38:03 GMT -5
Felt on the bottom of the stand to protect my floors. 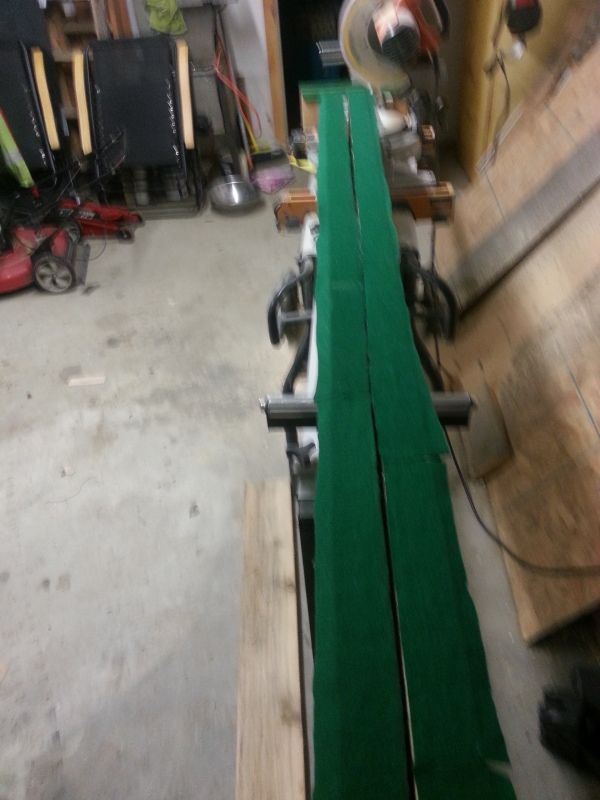 In and level. 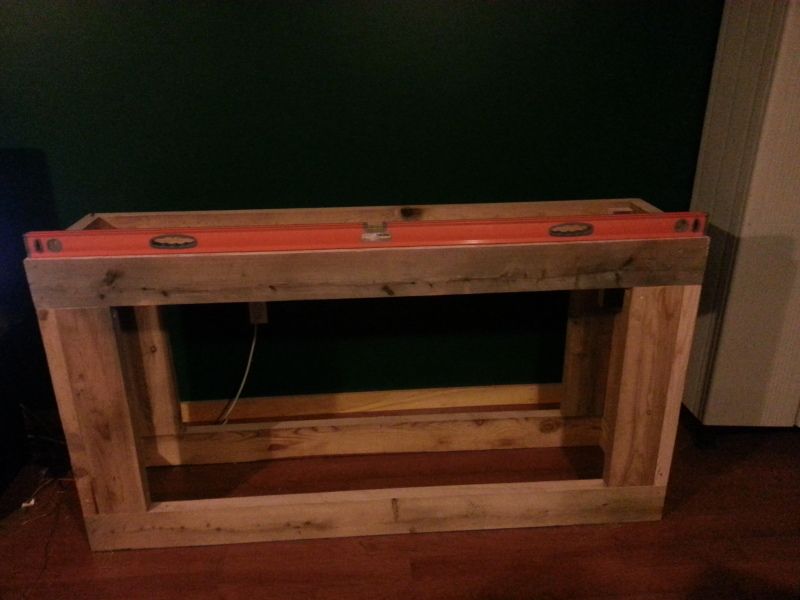 Next step plywood. Stand will sit 10" from the wall, with removable trim pieces to access plumbing. Critiques? Something I'm not thinking of? |
|
Deleted
Deleted Member
Posts: 0
|
Post by Deleted on Dec 10, 2012 0:41:09 GMT -5
|
|
|
|
Post by gotareef on Dec 10, 2012 9:59:20 GMT -5
stand looks great!
was the lumber kd? if not expect the stand to shrink a little
are you going to cover the top of the stand with plywood? I ask because I strongly recommend rigid styrofoam under any 6' tank. so it is a guarentee it sits flat for years to come
|
|
|
|
Post by industry on Dec 10, 2012 11:55:16 GMT -5
I had planned on 3/4 ply with 1" foam on top of that. Lumber has been air drying for 2 year, so I anticipate minimal shrinking. I left approx. 10" inches between the top support 2x6 and the top of a 40b tank. That should give me room to work in my sump area, correct?
|
|
|
|
Post by gotareef on Dec 10, 2012 16:09:14 GMT -5
sounds great. but there is never enough room
|
|
|
|
Post by spotfin on Dec 10, 2012 21:28:01 GMT -5
Looks good. I would have added some stringers, but probably won't need them if you tie in the plywood on top. With 4" screws and dry wood, I would drill pilot holes for your screws. Lastly, how about installing a GFI outlet while you can still get to the outlet?
I skinned my stand with some nice poplar plywood from HD.
|
|
|
|
Post by industry on Dec 11, 2012 6:05:51 GMT -5
Good idea on the outlet. Last night I added 1 cross brace for the top at 3'. Bought a sheet of 3/4 bc plywood last night as well. While I was out I looked at two big pine trees that might pay to get the rest of this tank up and running.
|
|
|
|
Post by industry on Dec 13, 2012 20:14:03 GMT -5
Got the trim/bracing done for the top. Staining it tomorrow night. 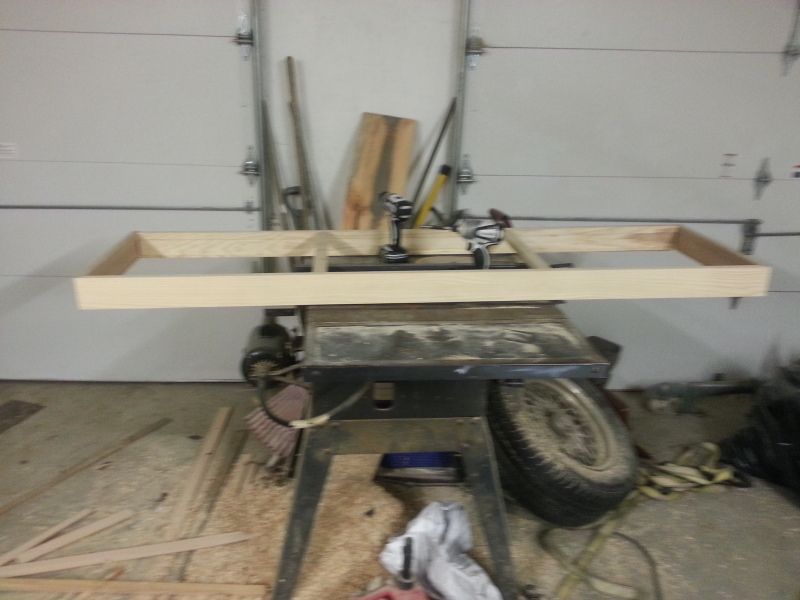 Don't mind the mess.  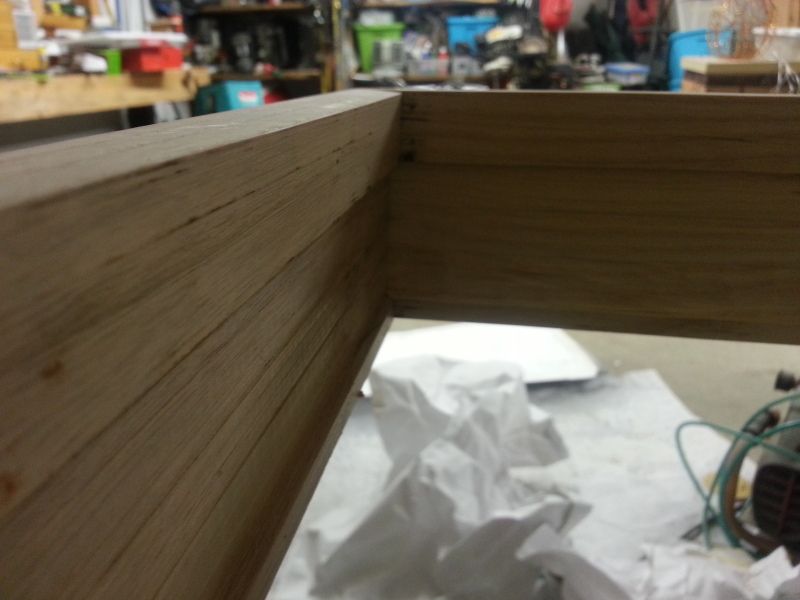 |
|
|
|
Post by industry on Dec 15, 2012 21:28:43 GMT -5
New toys on the way. Ro unit and refractometer on the way from BFS. Laguna max-flo 2400gph pump, 80# of seaflor special grade reef sand coming in as well. Pine trees payed well this morning. ;D
|
|
|
|
Post by gotareef on Dec 15, 2012 21:45:54 GMT -5
nice!!
|
|
|
|
Post by industry on Dec 20, 2012 17:33:45 GMT -5
I bought some light diffuser material and wondered if it is advisable to put that down first, then rock on top of that, then sand. just overly concerned about rocks on bare glass i suppose. Thoughts?
|
|
|
|
Post by ryansweatt2004 on Dec 20, 2012 19:46:21 GMT -5
You can always make a base out if cpvc or pvc tube for your rock to sit on. It also makes a great foundation if you plan on drilling and stacking rocks with rods or tubes. Light diffuser grid definitely works but I've read from others that it can create dead spots in the sand where detritus gets trapped. This of coarse doesn't matter if you plan to have a deep sand bed.
|
|
|
|
Post by industry on Dec 25, 2012 13:56:20 GMT -5
Toys came in. Can I start my cycle with the base rock I have and add more as I go? Or do I have to get it all first. I will be getting some live rock to start the cycle. Also, anyone know where I can get fluid to calibrate my refractometer locally? Thanks guys. 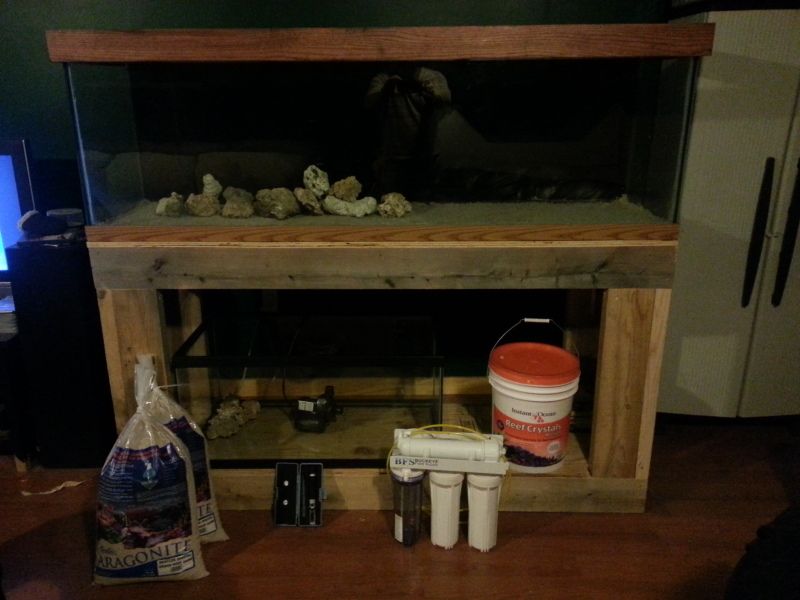 |
|
|
|
Post by ryansweatt2004 on Dec 25, 2012 15:14:48 GMT -5
If you want to speed up the cycle, put a couple pieces of Live rock in once your tank is full and at the right salinity. You don't need to have all the rock in to start cycling your tank. It does help though.
|
|