fragfreaks
Sponsor
Great Frags at Great Prices!!!
Posts: 542 
|
Post by fragfreaks on Jan 19, 2014 9:46:55 GMT -5
My business partner Dennis has been a freshwater guy for the past 10 years. Since teaming up with me and starting Frag Freaks his love for saltwater has started to grow. Currently he is just running a small 10g nano with a couple clowns and mostly coral.
I convinced him it was time to tear down his 90g freshwater and turn it into a full blown reef. Over the past couple months he has been selling off his fish and breaking the tank down while acquiring what he was going to need for the reef.
The main obstacle for this build will be that he has a 90g that is not pre drilled. He would like a sump and fuge setup on the system so that means we will have to drill and install an overflow and some returns.
We have just recently started this build and would like to document the progress.
|
|
fragfreaks
Sponsor
Great Frags at Great Prices!!!
Posts: 542 
|
Post by fragfreaks on Jan 19, 2014 9:56:04 GMT -5
Lets start with the rock work. The rock being used is some nice Pukani dry rock. It will consist of about 100lbs. I have a few custom reef structures in my tank that I made and he was looking for a similar look. I have a bench top in the basement that is actually roughly the same size as his tank. We used this to layout some structures and get a feel for how it would look in his tank. Once he was happy with the look, I drilled all the rocks and installed acrylic rods for support. Silicone and epoxy was used to cement the rods into place. All voids remaining were filled with rubble so that the rods could not be seen. The rock work consists of 3 main structures. Then ones those structures are in place some additional arches would be made and cemented in place as well. Pros and cons with this way of setting up the rock work. Pros - Never a worry for heavy rock falling over and potentially cracking glass. Also have a rock as moved sometimes its is always hard to get it back to the spot where it was before. Unique shapes as you can combine multiple pieces to get one nice looking piece. Cons - You must love your rock! Once its in place that is it. So for all the rock tinkers this definitely would not be the way to go for you. This is the rock work you will see in your tank for the life of the aquarium. Unless there is some additional space where you might want to add another little piece just to create another arch cave etc. So here it is the final rock work design. Again its in three different pieces and will be placed into the tank like a puzzle. A few of the pieces are loose at this point so the look might change just a little bit once it gets into the tank. 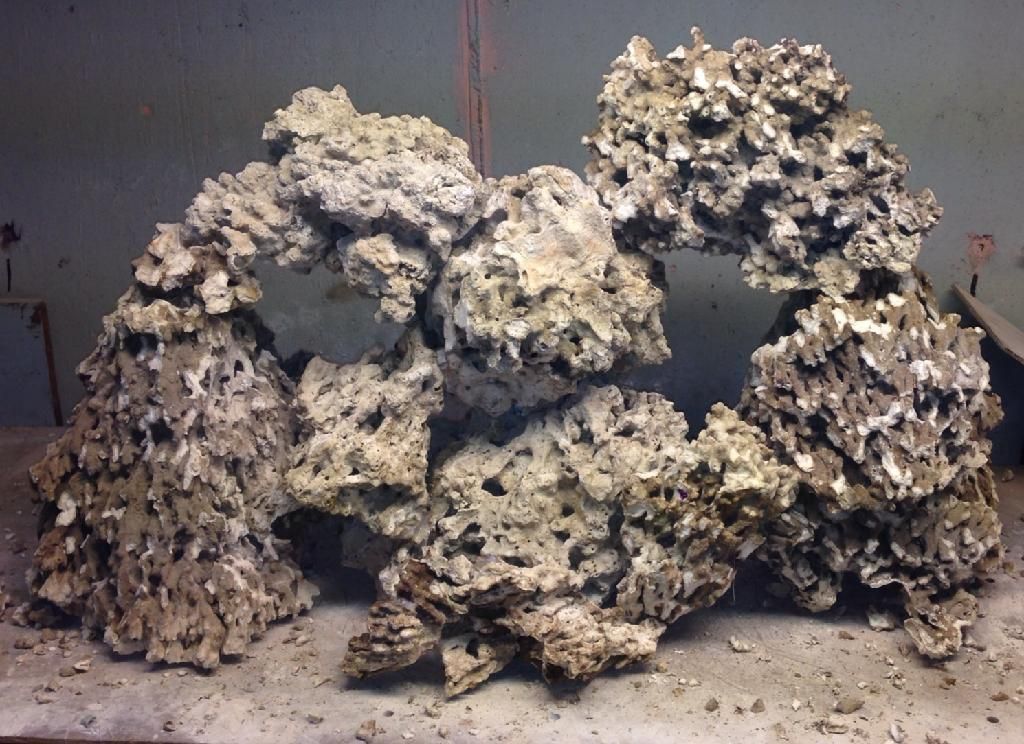 |
|
fragfreaks
Sponsor
Great Frags at Great Prices!!!
Posts: 542 
|
Post by fragfreaks on Jan 19, 2014 10:00:29 GMT -5
With the tank now empty it was time to start the drilling process. The overflow was bought as a kit from glass cages and is rated for 1500gph. They include everything you need in this kit from the overflow, diamond bit, template, bulkheads, and a few other misc plumbing. The position of the overflow that he chose was going to be the top center of the tank. Below is a picture of the template in place along with the plumbers putty to create a water well for the drilling process. His glass on the back pane was 3/8". By keeping a steady flow of water while drilling ensures the drill bit to stay cool and prevents cracking. 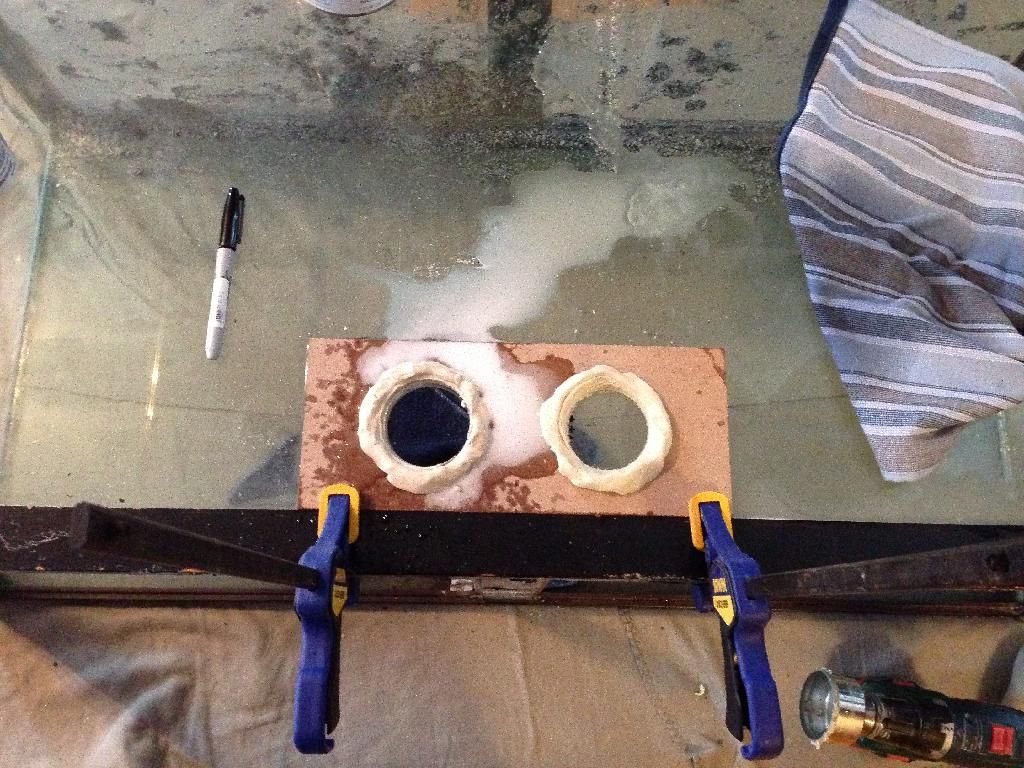 |
|
fragfreaks
Sponsor
Great Frags at Great Prices!!!
Posts: 542 
|
Post by fragfreaks on Jan 19, 2014 10:03:27 GMT -5
Here is a couple more shots after the drilling process for the overflow. 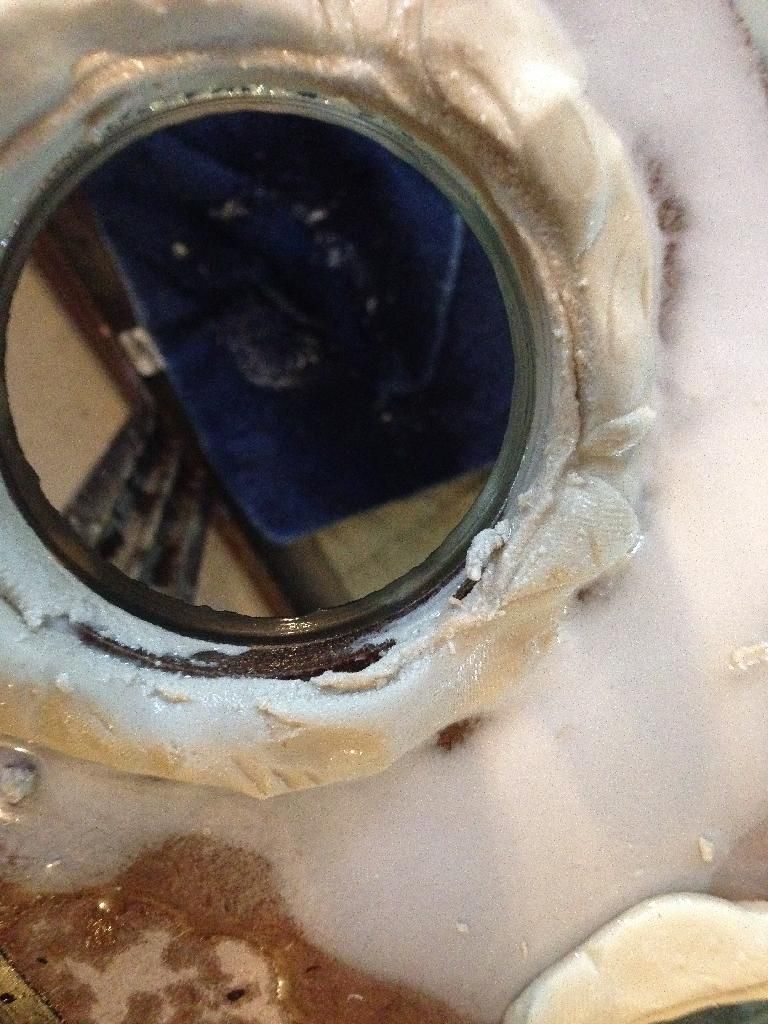 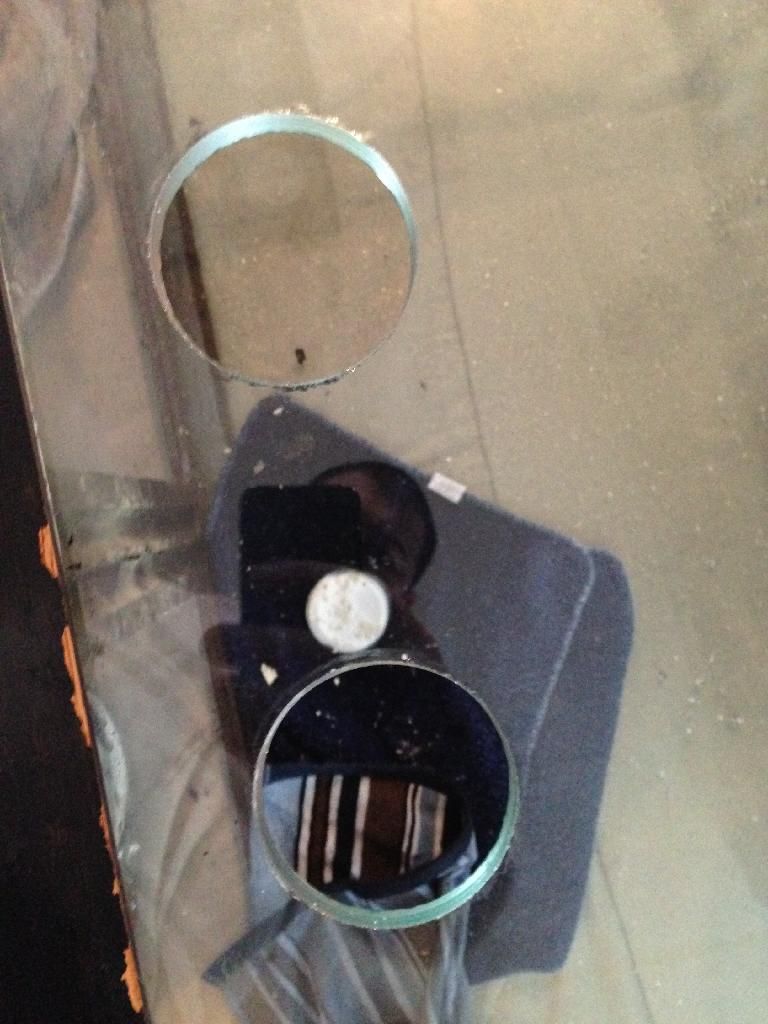 |
|
fragfreaks
Sponsor
Great Frags at Great Prices!!!
Posts: 542 
|
Post by fragfreaks on Jan 19, 2014 10:06:22 GMT -5
With the holes drilled it was now time to install the overflow. 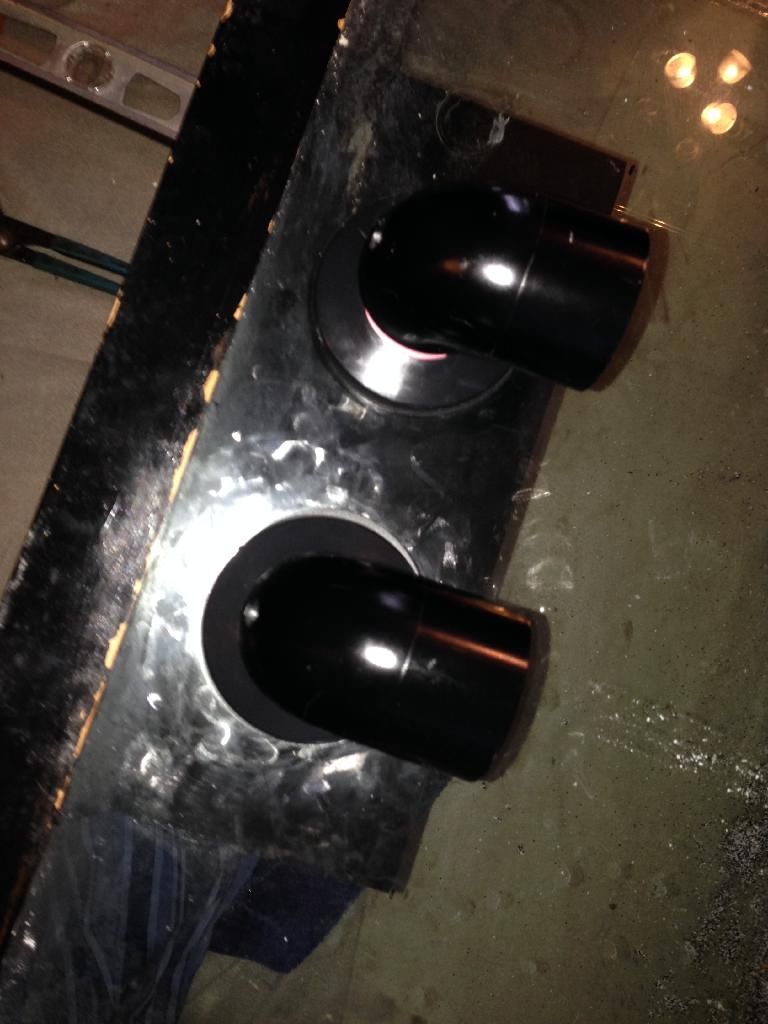  |
|
fragfreaks
Sponsor
Great Frags at Great Prices!!!
Posts: 542 
|
Post by fragfreaks on Jan 19, 2014 10:10:35 GMT -5
Onto the next step, drilling the two return lines which will be 3/4". I do not have step by step pictures of the drilling process here but what I did was use the same template from the overflow and just made a smaller putty well to center the smaller drill bit. I recommended to him to use schedule 80 bulkheads for the return as since it is a pressure line the larger bulkheads can be tightened more and are less prone to leaking then some of the standard bulkheads. Here is a picture of the hole drilled with the bulkhead installed. 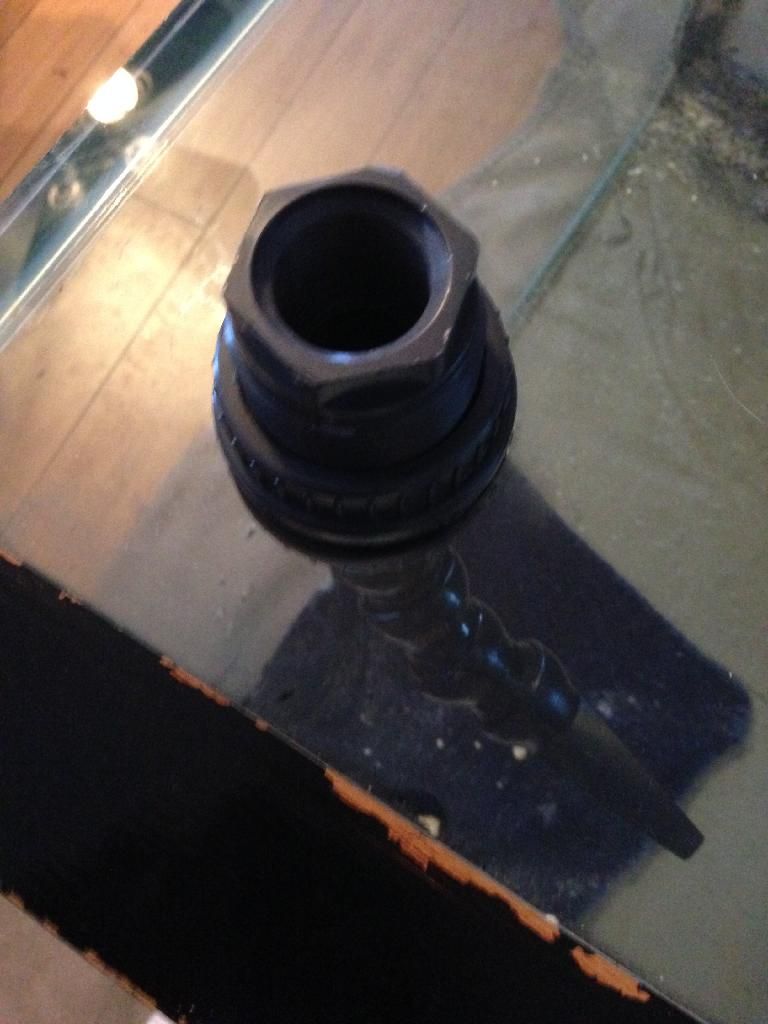 |
|
fragfreaks
Sponsor
Great Frags at Great Prices!!!
Posts: 542 
|
Post by fragfreaks on Jan 19, 2014 10:17:33 GMT -5
Next was to start the plumbing that would go to the sump. The goal for yesterday was to just get the piping down to where I could access it to finish the sump at a later time as that still needs to be designed and built. Getting the piping done to this point would allow us to get the tank and stand into position so that the rock and sand into place. Also he wanted to be able to start the filling process. Since there would be no sump yet he would as list be able to get the water up to the overflow box and get a heater and pump in there to get the cycling process going. Heres a picture of the plumbing process for the returns and the overflow. Also at this time we had the back of the tank painted black.  |
|
fragfreaks
Sponsor
Great Frags at Great Prices!!!
Posts: 542 
|
Post by fragfreaks on Jan 19, 2014 10:22:10 GMT -5
Once we got the tank and stand into place it was time to level. To my surprise, there was nothing to be done as it sat perfectly level in the spot that we placed it. I never had had this happen with any of my tank builds. Dennis made me take this picture with the level on it so he could brag how "perfect" his house was. 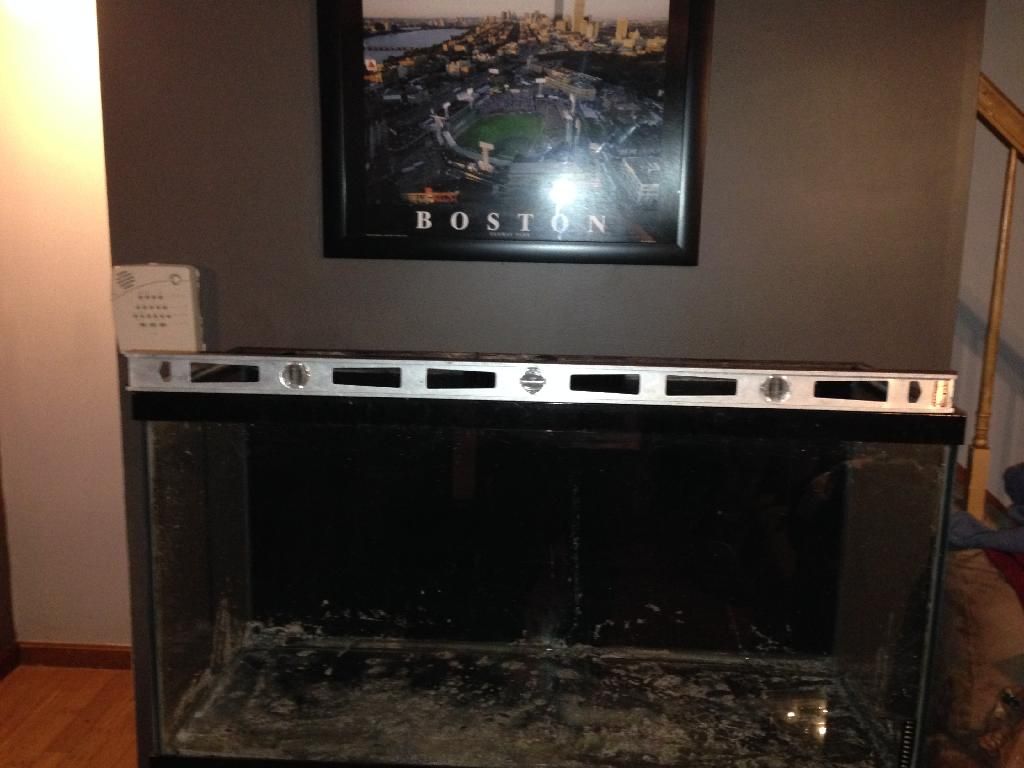 Then here is a shot of the plumbing so far behind the tank. Now when we build a canopy for this, we are planning to incorporate some type of trim piece that will cover the plumbing on the side of the tank as well. 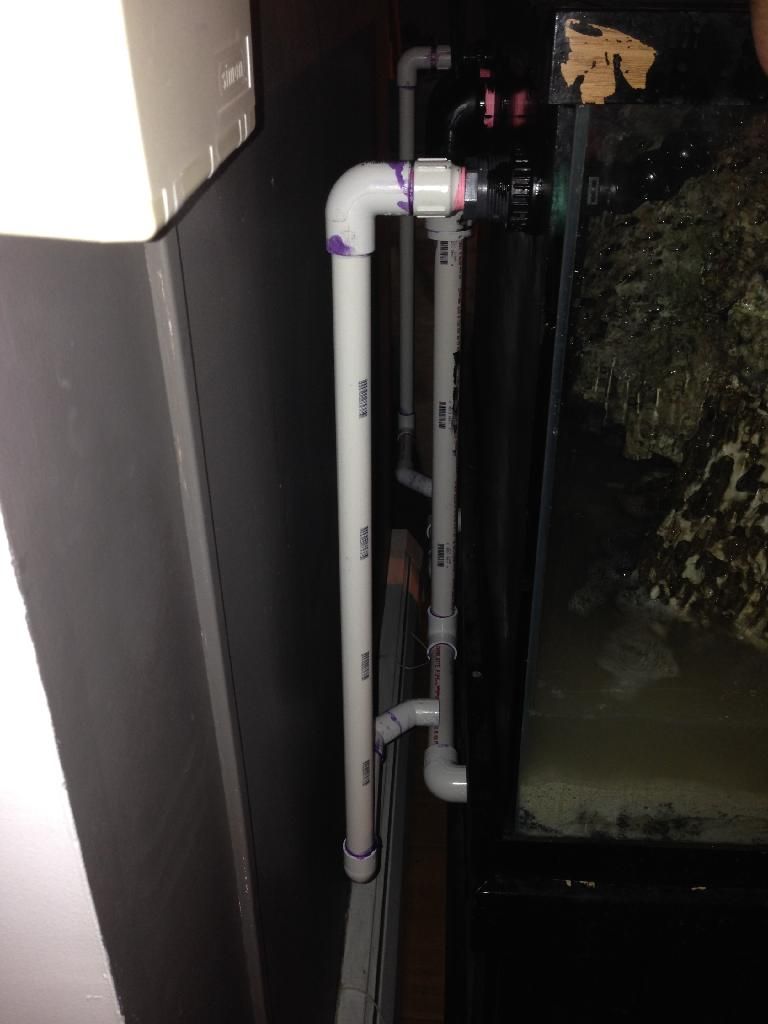 |
|
fragfreaks
Sponsor
Great Frags at Great Prices!!!
Posts: 542 
|
Post by fragfreaks on Jan 19, 2014 10:29:16 GMT -5
|
|
fragfreaks
Sponsor
Great Frags at Great Prices!!!
Posts: 542 
|
Post by fragfreaks on Jan 19, 2014 10:32:08 GMT -5
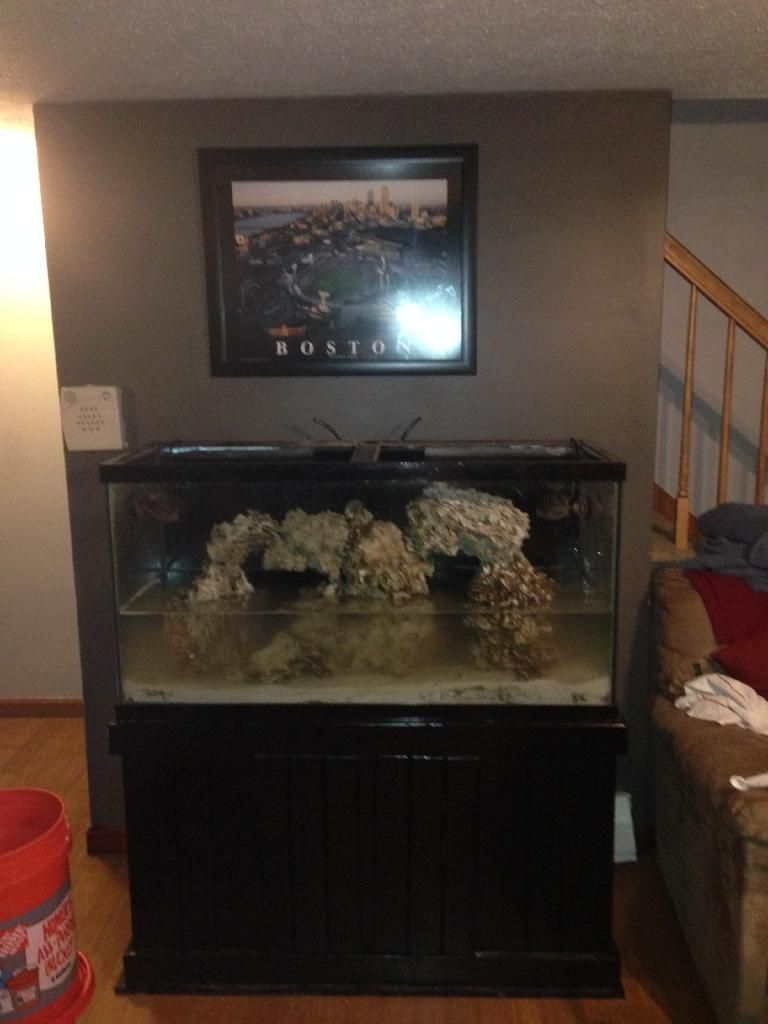
And here is a one last final pic from the day. The rock and sand in place and water starting to be put in the tank. Next steps are to fill the tank to just under the overflow and get a heater and pump going to start the cycle. In the meantime a skimmer is on order and once that arrives I can design the sump around it and then we can complete the tank build and get it full operational. By the time the tank cycles the sump should be ready to go.
 |
|