|
|
Post by foggman on Nov 25, 2013 12:46:23 GMT -5
So I started my 110 build a couple of months ago and have been waiting untill I started to fill it to post anything about it. I got the tank of Craig's list cheap, it needed to be reseald so I did that, then drilled the tank for the over flow and made an acrylic over flow. Then as I started to build the stand my girl friend said "where the hell are you planning on putting that". Lol so after moving every thing around in the house we decided to put it where our kitchen table was and build a bar into the stand and get rid of the kitchen table. For the stand I used solid oak to make it strong. At work there was an old wooden divider in a hall that they wanted removed, so I removed it and I'm fairly sure that it is all mahogany, but I could be wrong. Any way I like the look of it and will use it to skin the stand as well as use it for the bar top. Now for pictures 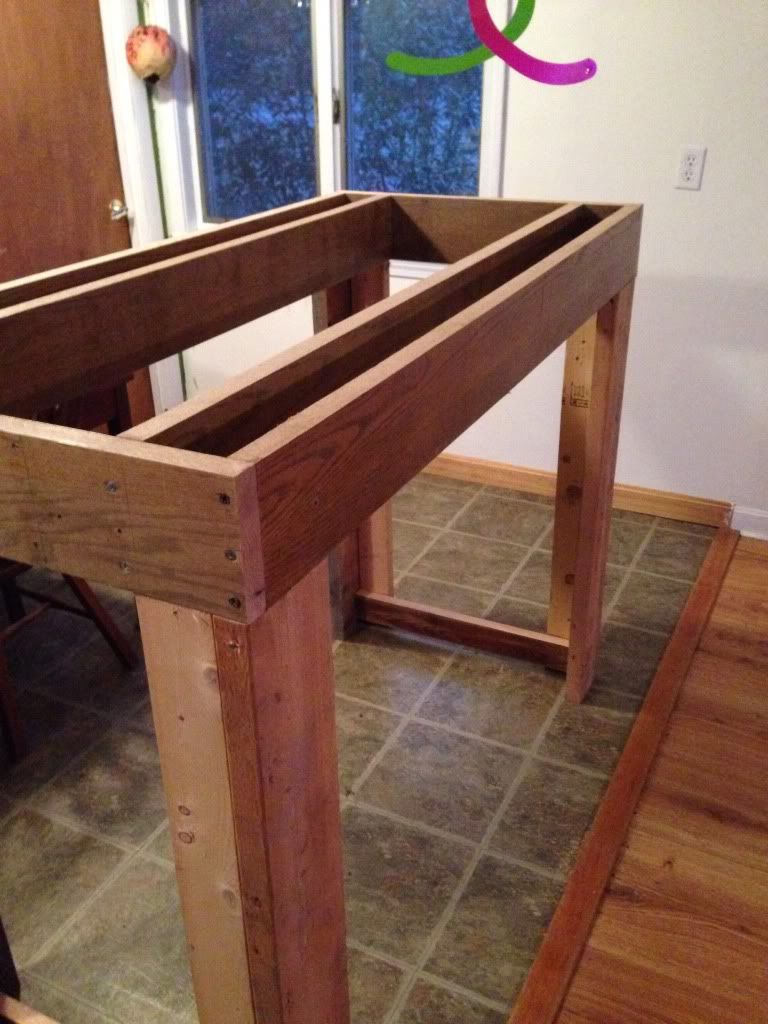 This was a little to high so I cut about 5 inches off the legs 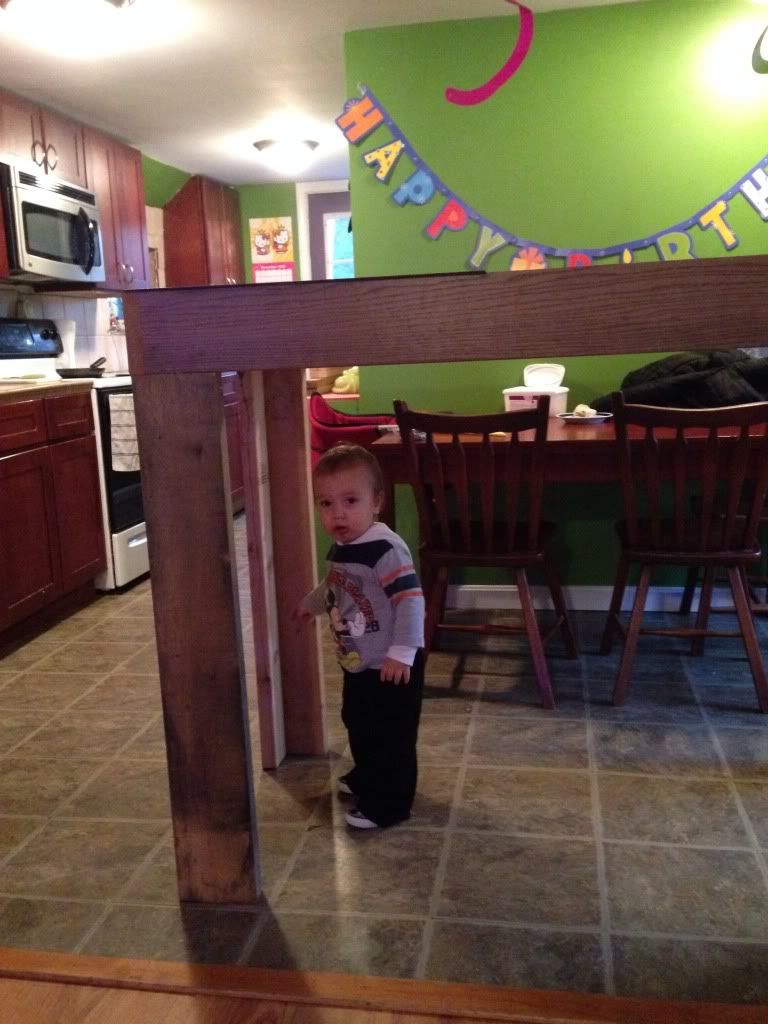 Tank on the stand, that light is going to be removed and replaced by a GFCI to run my LEDs when they come in on the 2nd 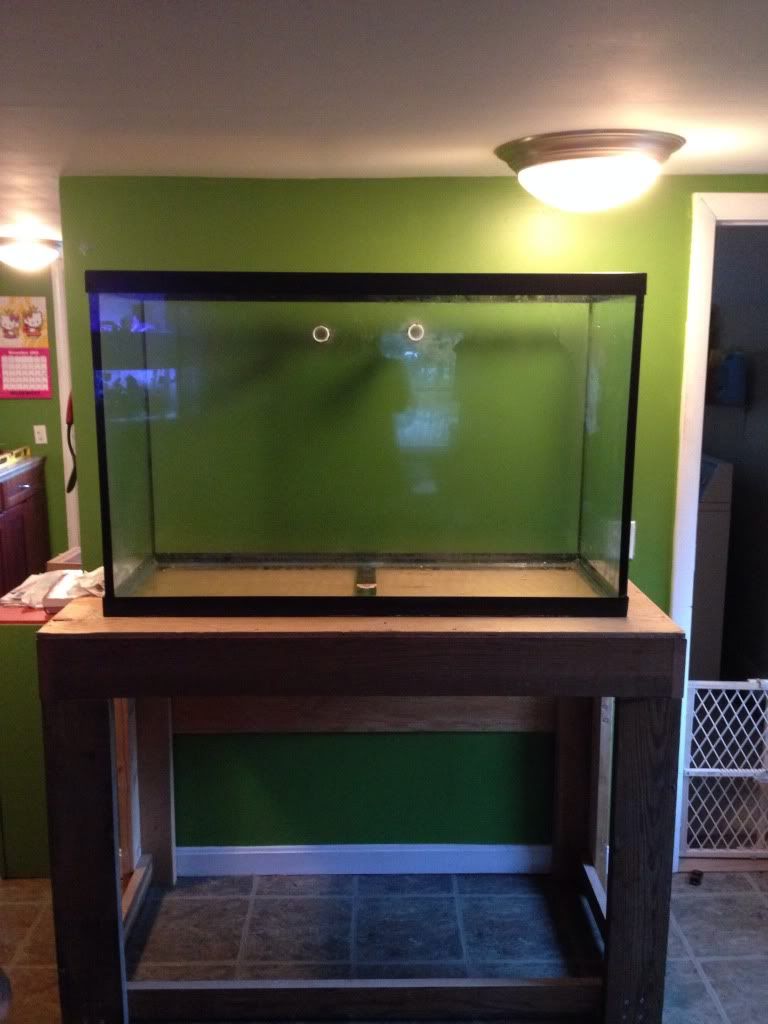 Added some paint to the back glass, i should have waited and painted it black to match the overflow I built, but to late now. Also a preview of the bar top 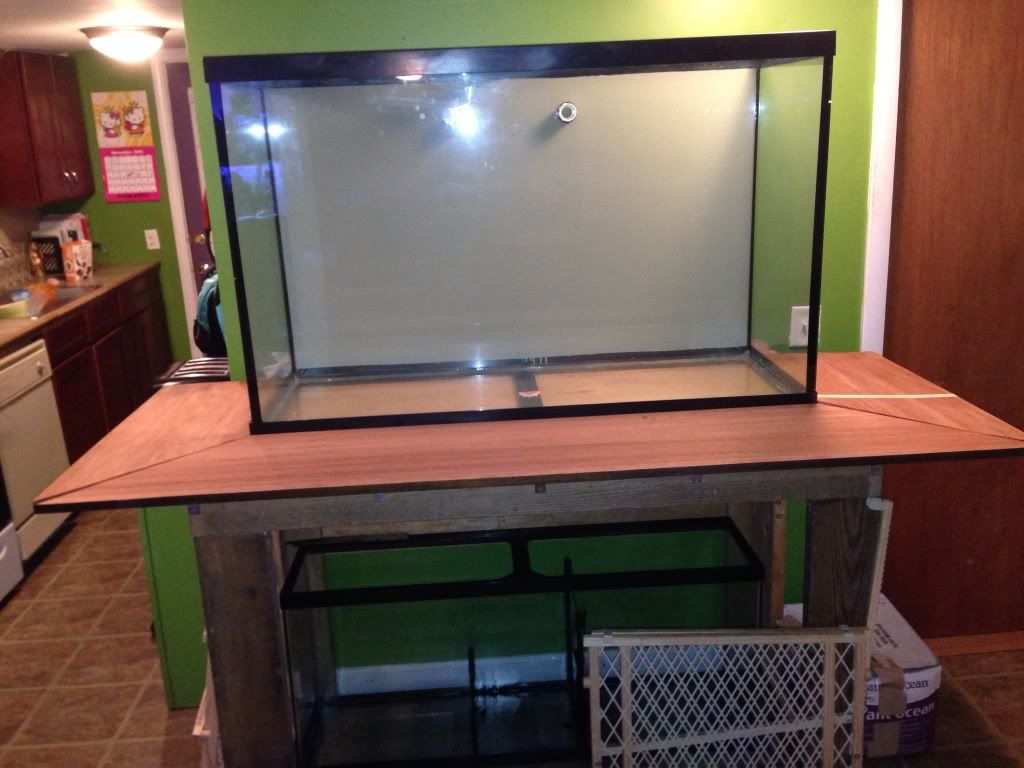 And the over flow. Im going to adjust some of the teeth on the top some broke off so Ill have to epoxy them back on  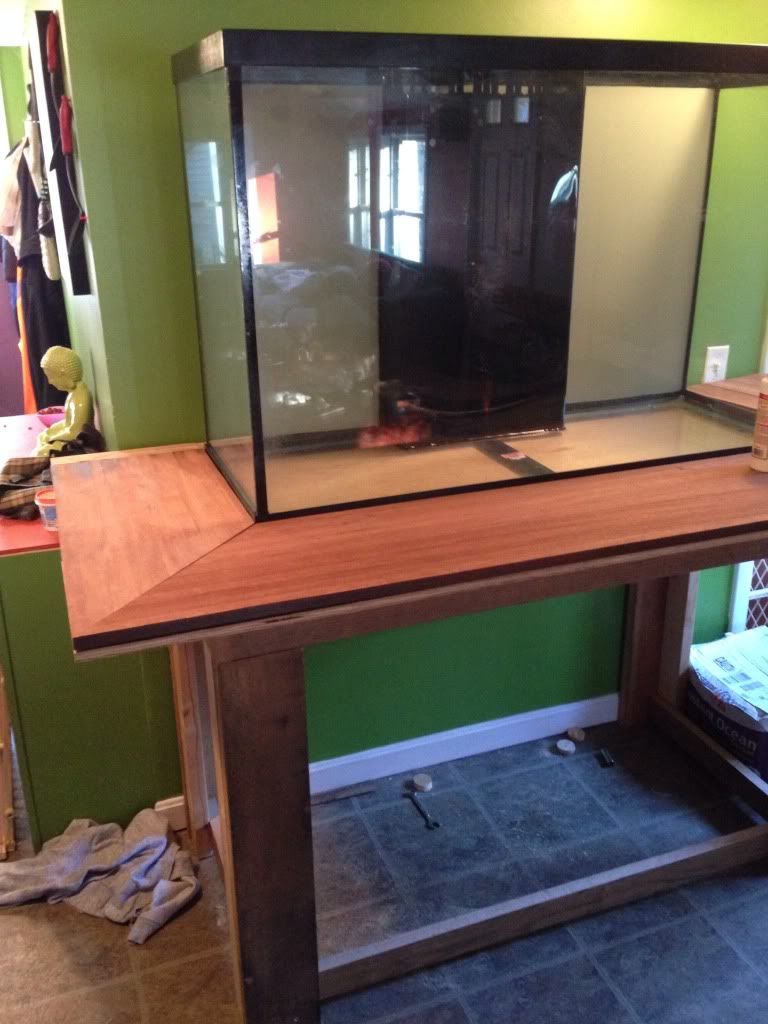 And at last it is filling up with fresh RODI water. according to my math it will take 48 hours to fill. not including the sump 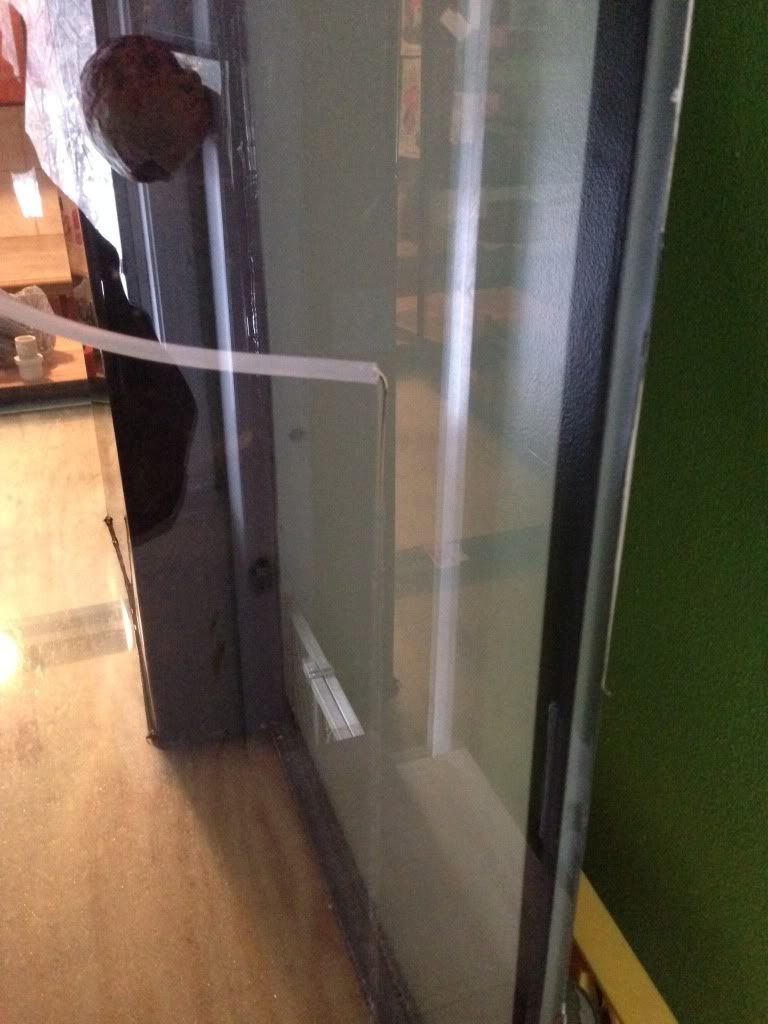 I will get more Pics up once I get working on the Scape. |
|
NateG
Full Member
  
Posts: 222
|
Post by NateG on Dec 22, 2013 18:31:55 GMT -5
Nice start to it! Keep the pics coming! I love how you submerged the bottom rim into the stand  |
|
|
|
Post by foggman on Dec 22, 2013 20:38:45 GMT -5
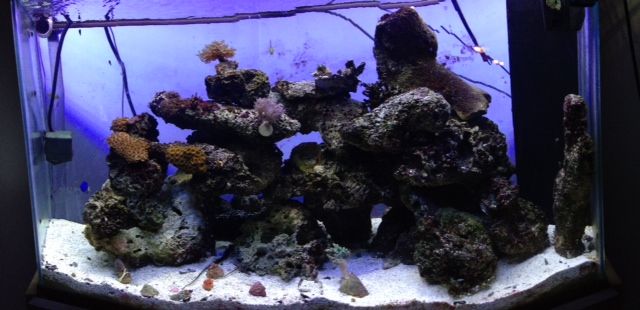
So I posted in a diffrent thread that the upgrade didn't go so well, I have lost all fish and almost all my coral, but that hasn't stopped me yet, here are some pics, I still have some more rock to add, once I get it cleand up and cured. I also still need to build the canopy, that might have to wait till spring unless we get some warm weather in January. 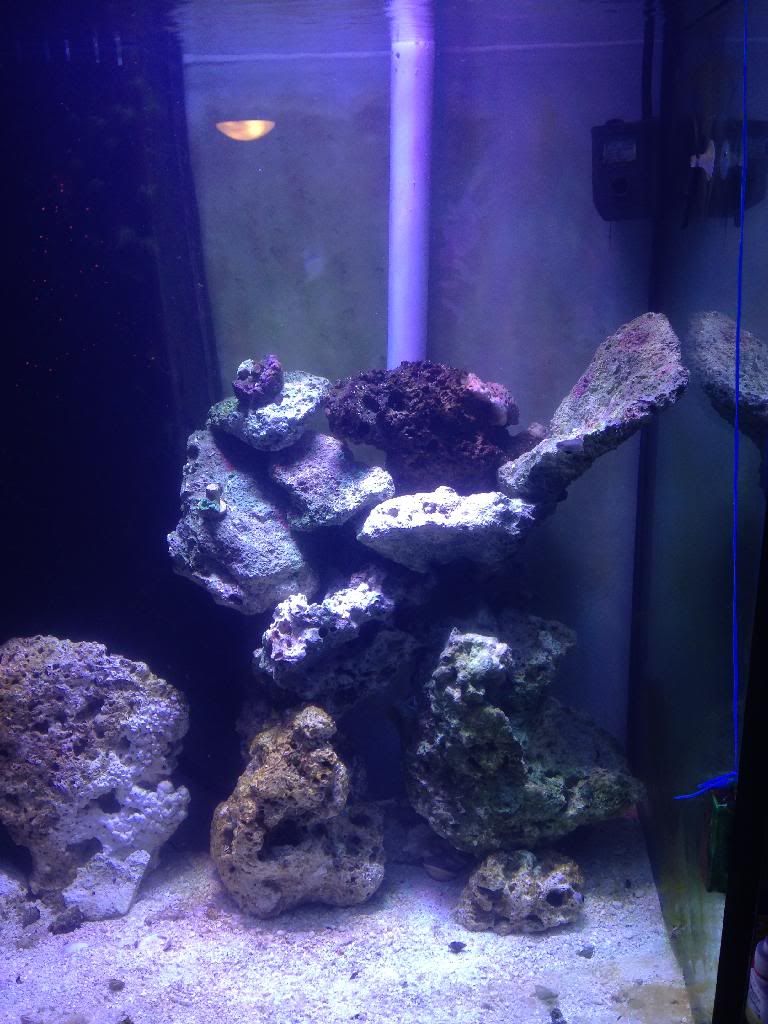 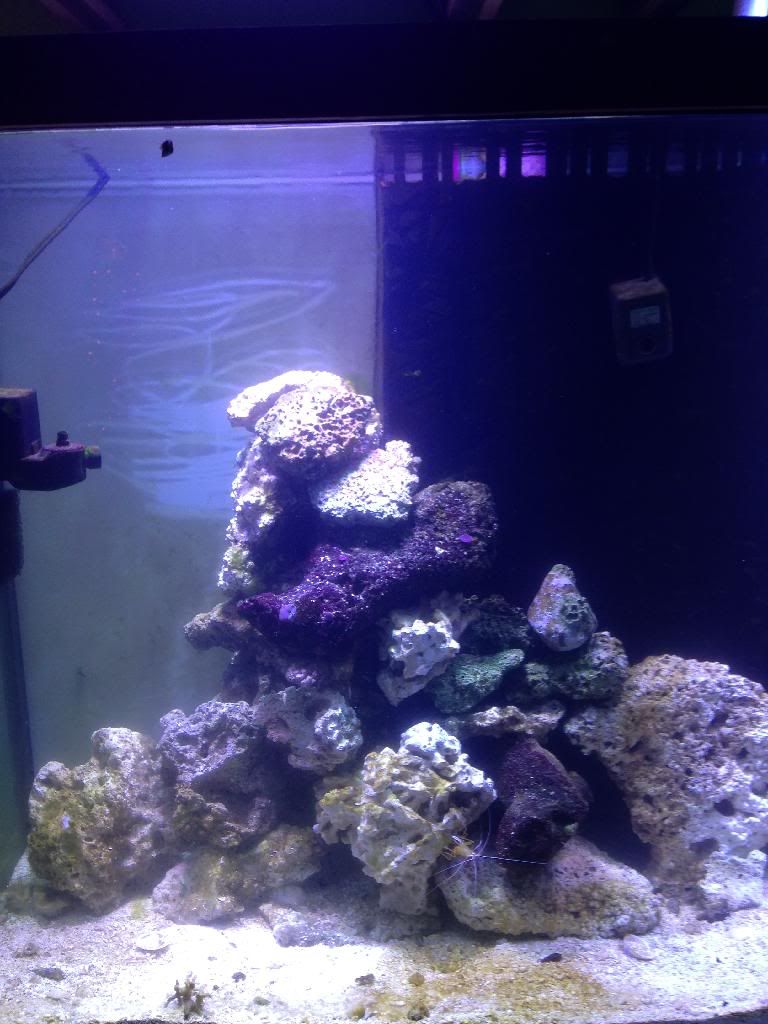 FTS 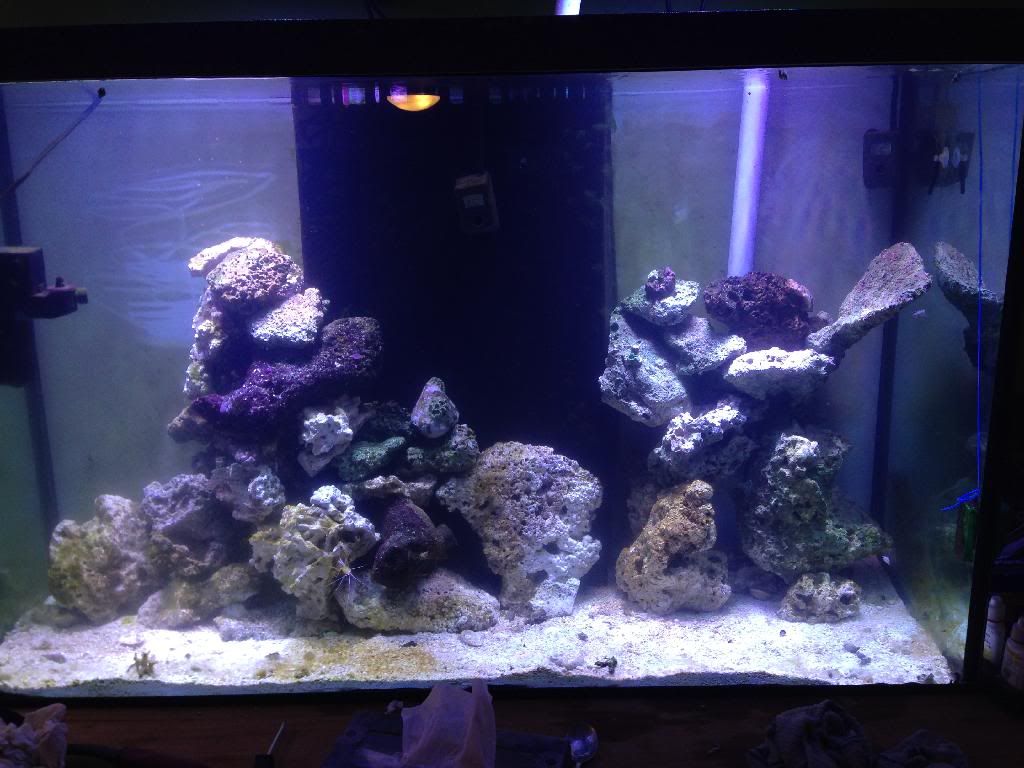 Lights 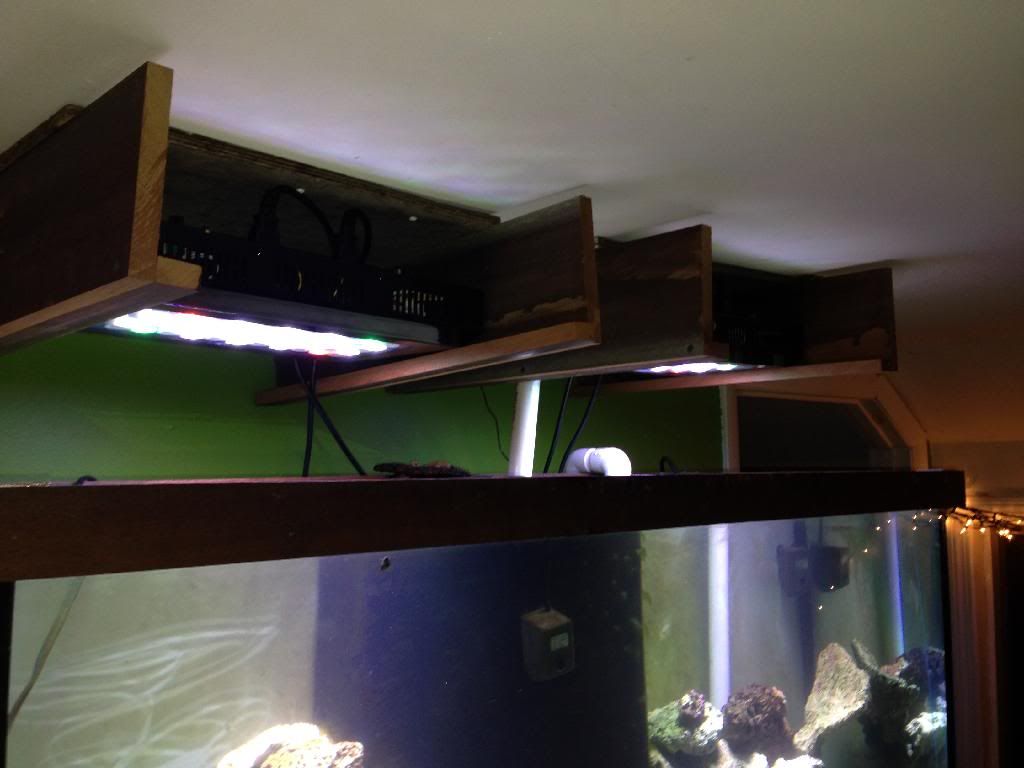 I set them up so I can slide them out of the way 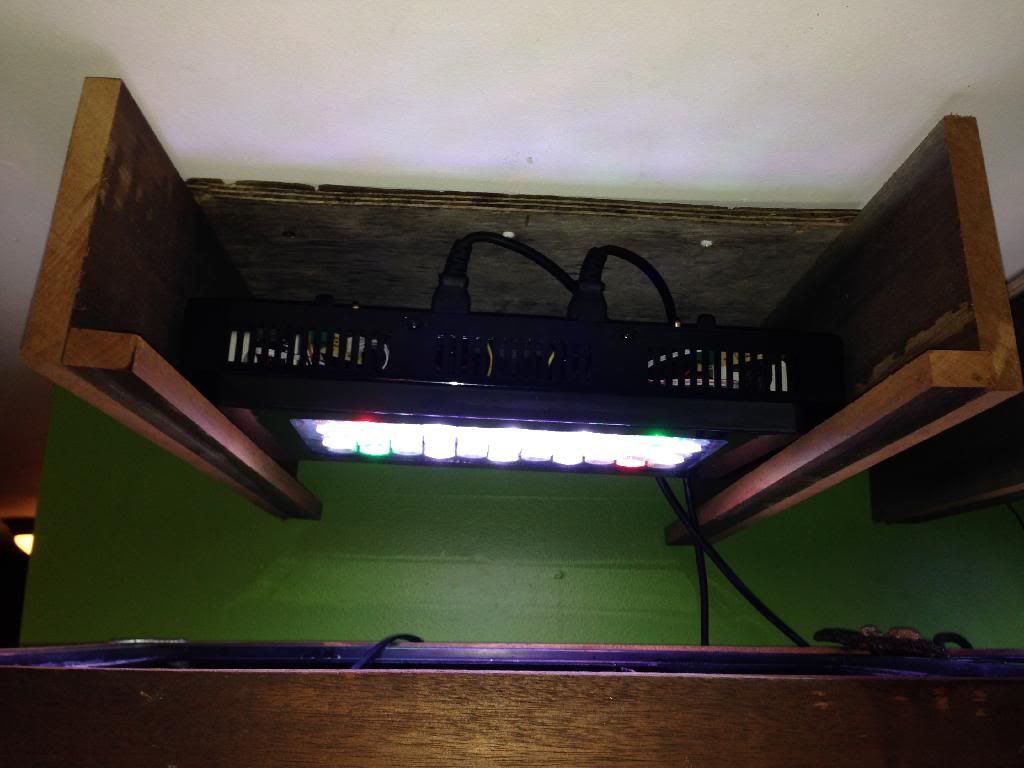 |
|
fragfreaks
Sponsor
Great Frags at Great Prices!!!
Posts: 542 
|
Post by fragfreaks on Dec 23, 2013 10:17:07 GMT -5
Off to a great start! Everything is coming together nicely. Can't wait to see the final product.
|
|
|
|
Post by foggman on Dec 23, 2013 10:25:58 GMT -5
Off to a great start! Everything is coming together nicely. Can't wait to see the final product. Thank you I'm gonna have to figuar out how to see you avaiblity on coral to restock it, |
|
|
|
Post by foggman on Jan 2, 2014 11:04:41 GMT -5
So I worked on my skimmer yesterday, I built the prototype awhile ago but didn't want to post untill I had the full completed project done. I decided to go with a recerculating style, for the body I used a 5 gal water jug for a water cooler, drilled some holes for plumbing in needle wheel pumps and the supply pump. I chopped the top to make it smooth and added a PVC pipe to the top that I can remove to clean the collection cup....aka dollar stor Tupperware. So here's the pics 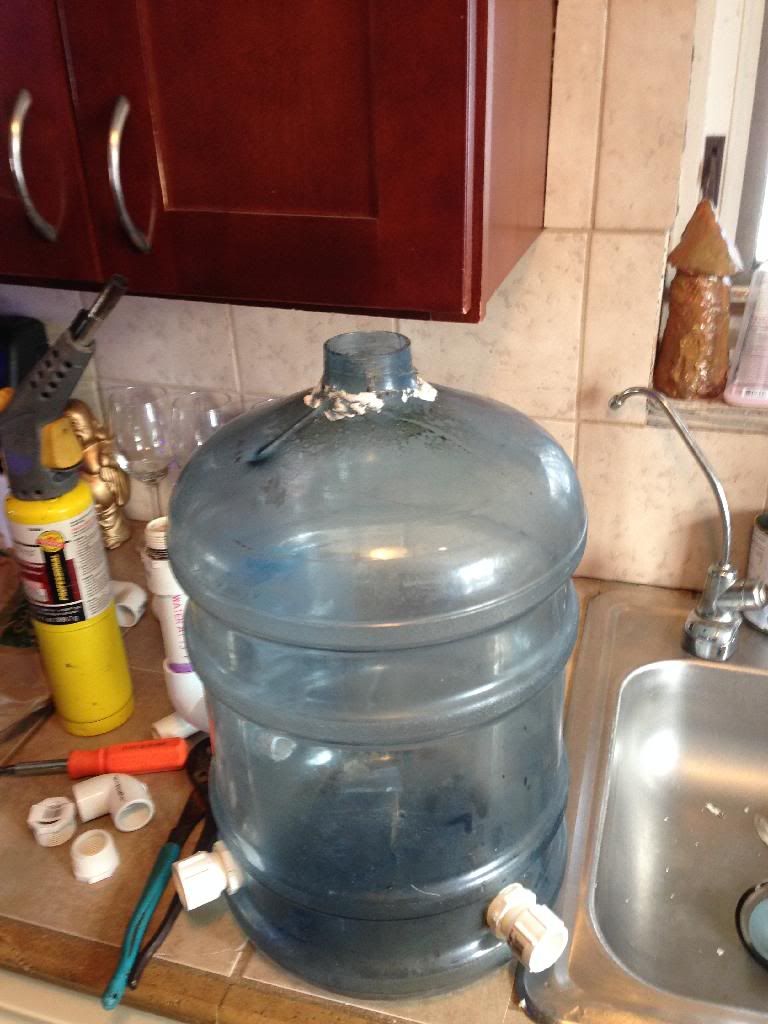 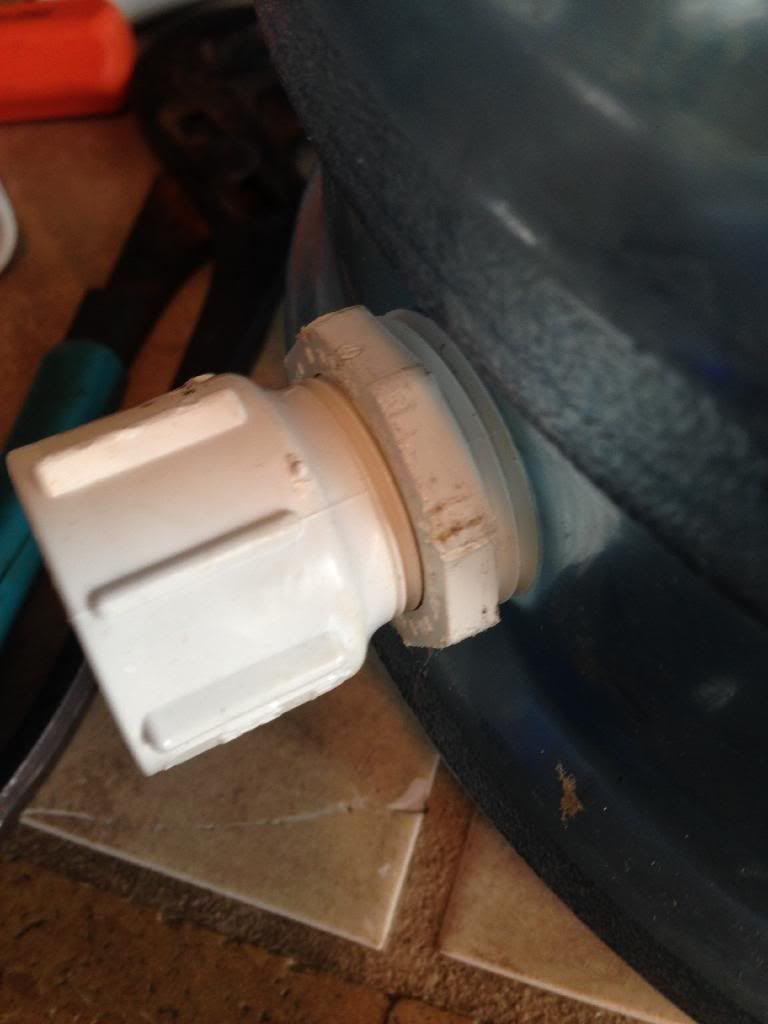 Output that I can adjust to get the water to the proper height in the skimmer 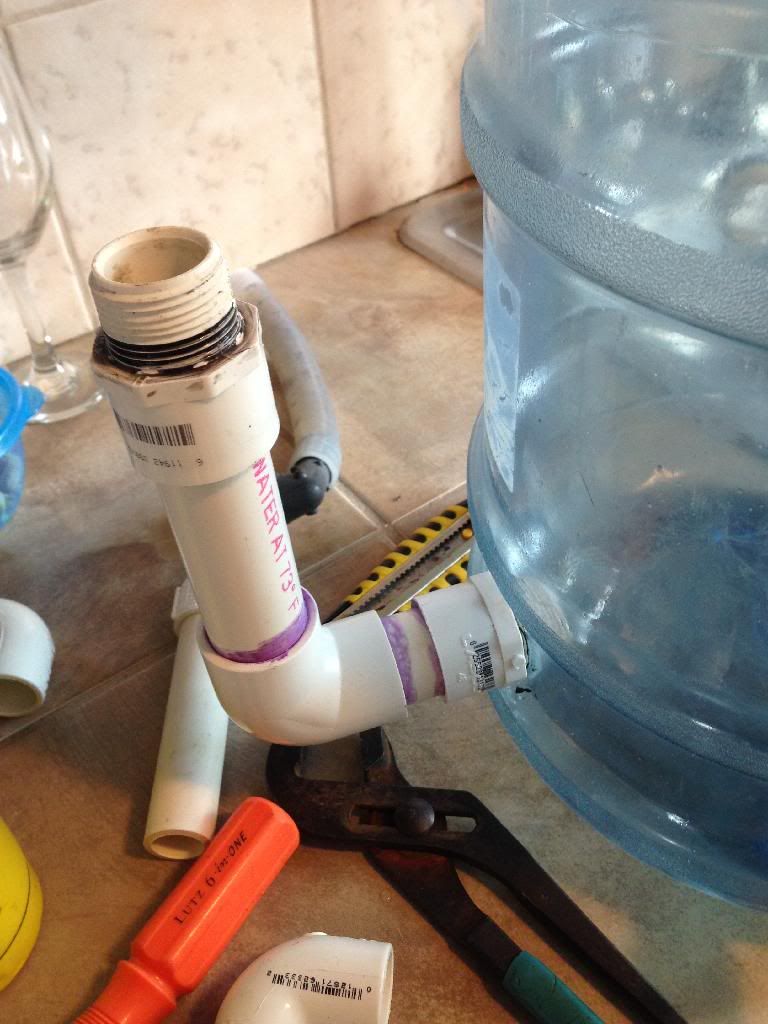 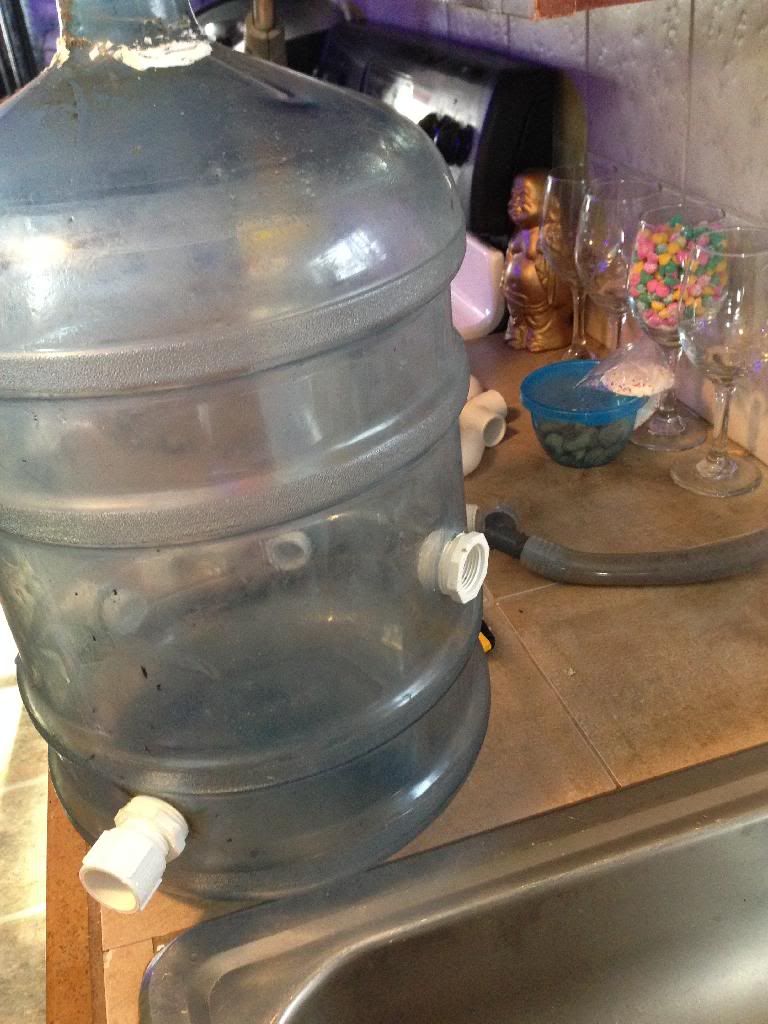 One needle wheel 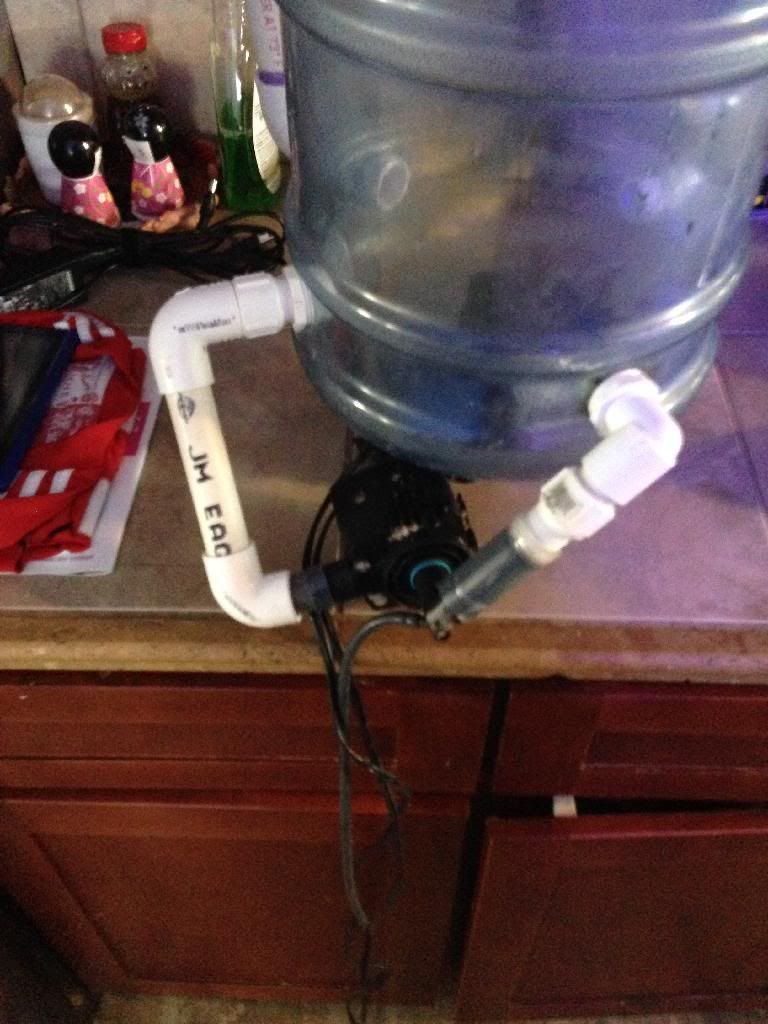 Second pump, I need to change the flow direction 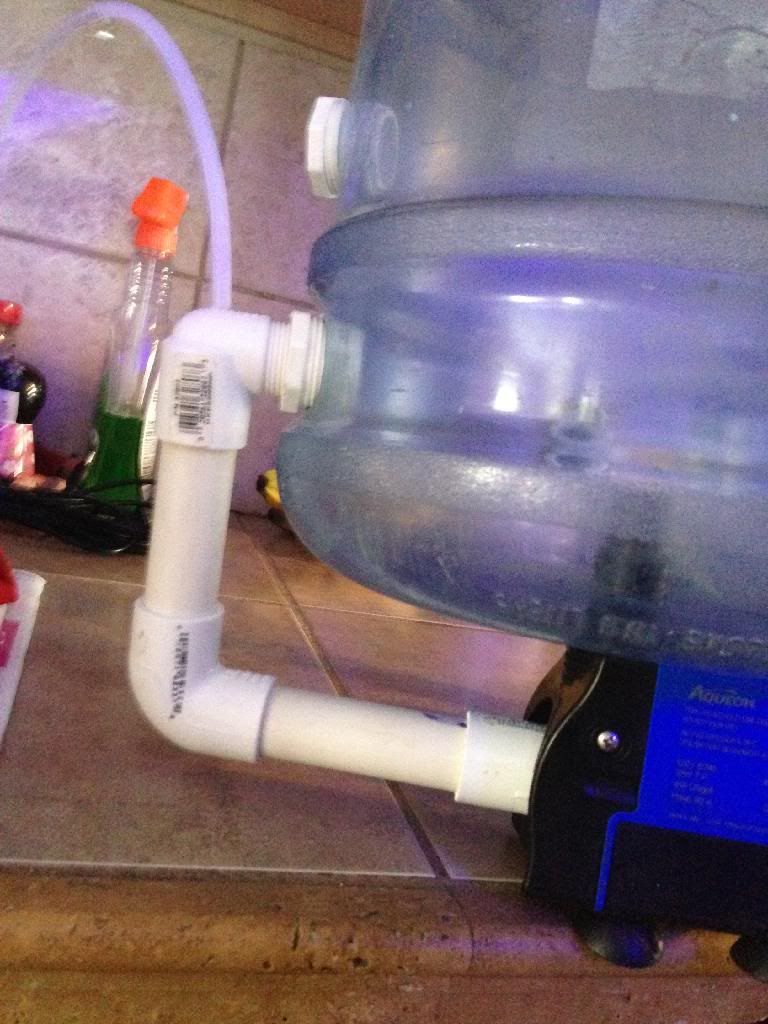 Intake for second pump 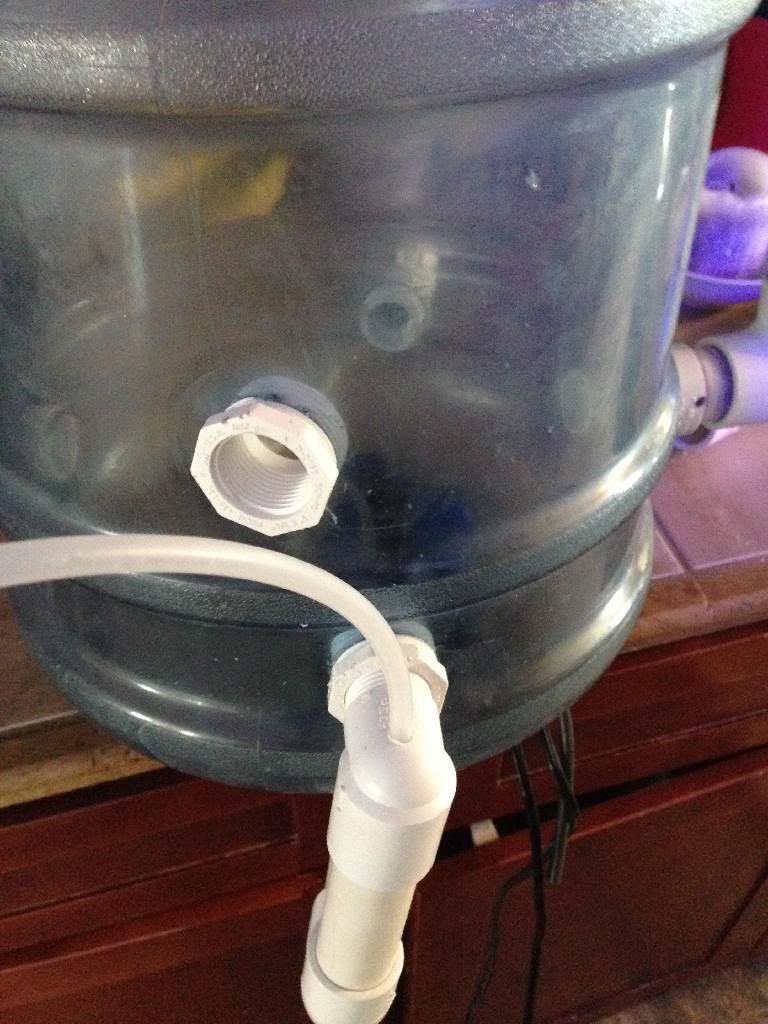 Bubbles 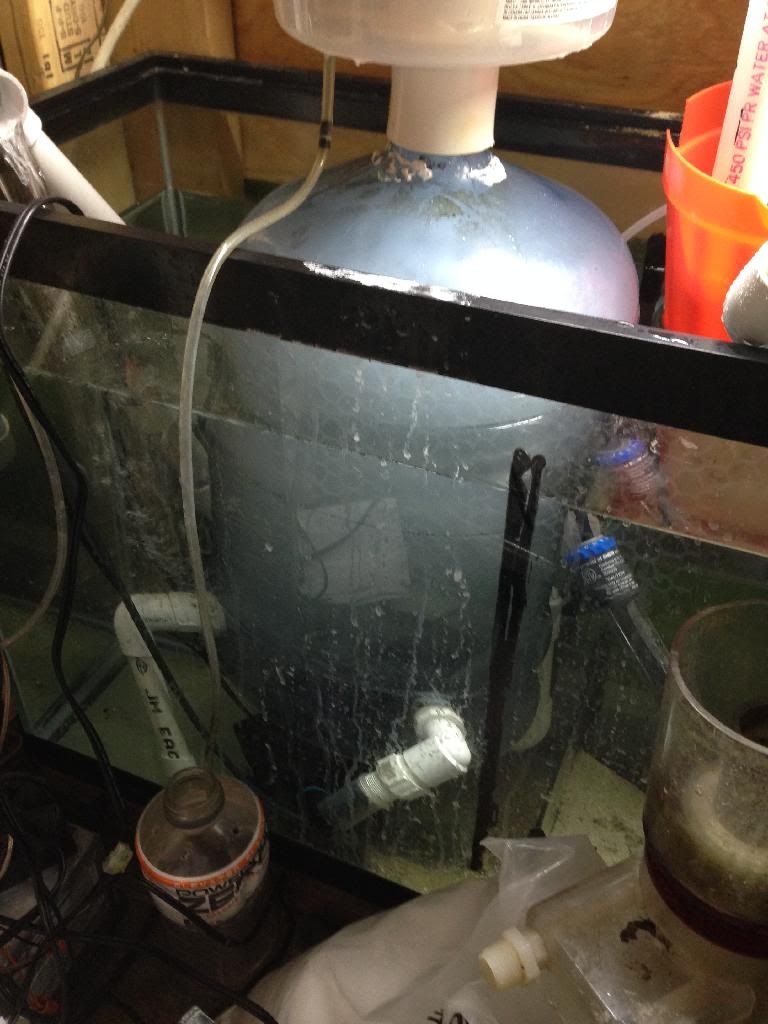 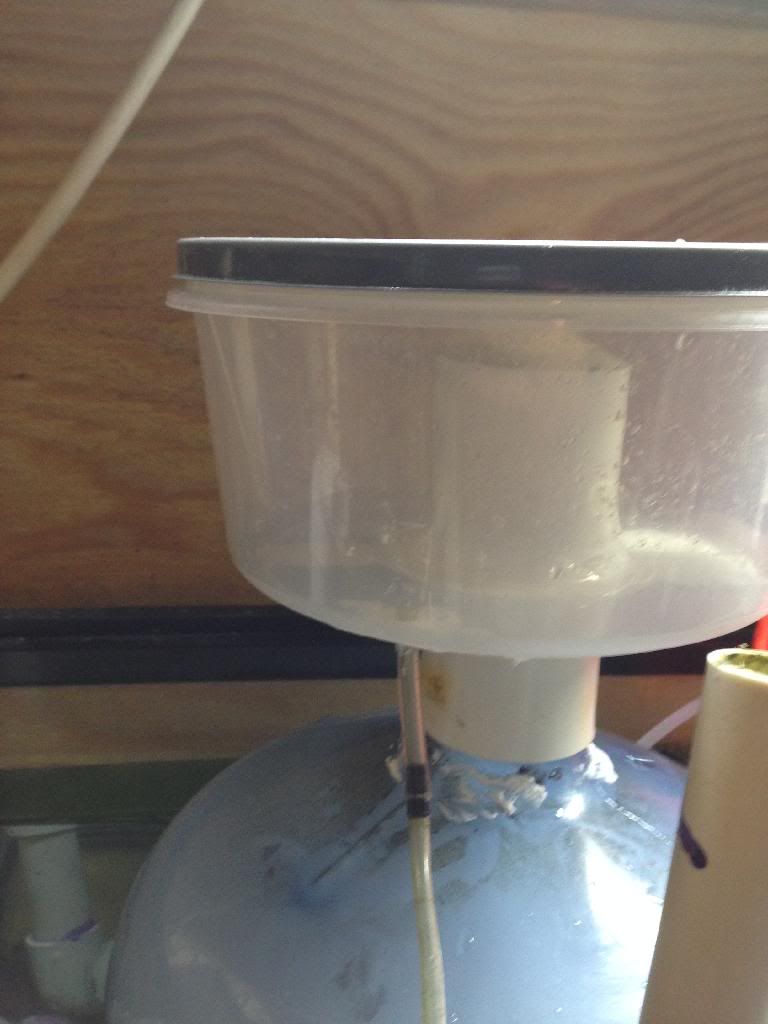 And it works, it puts off really dark smelly skim mate, so I guess that's good 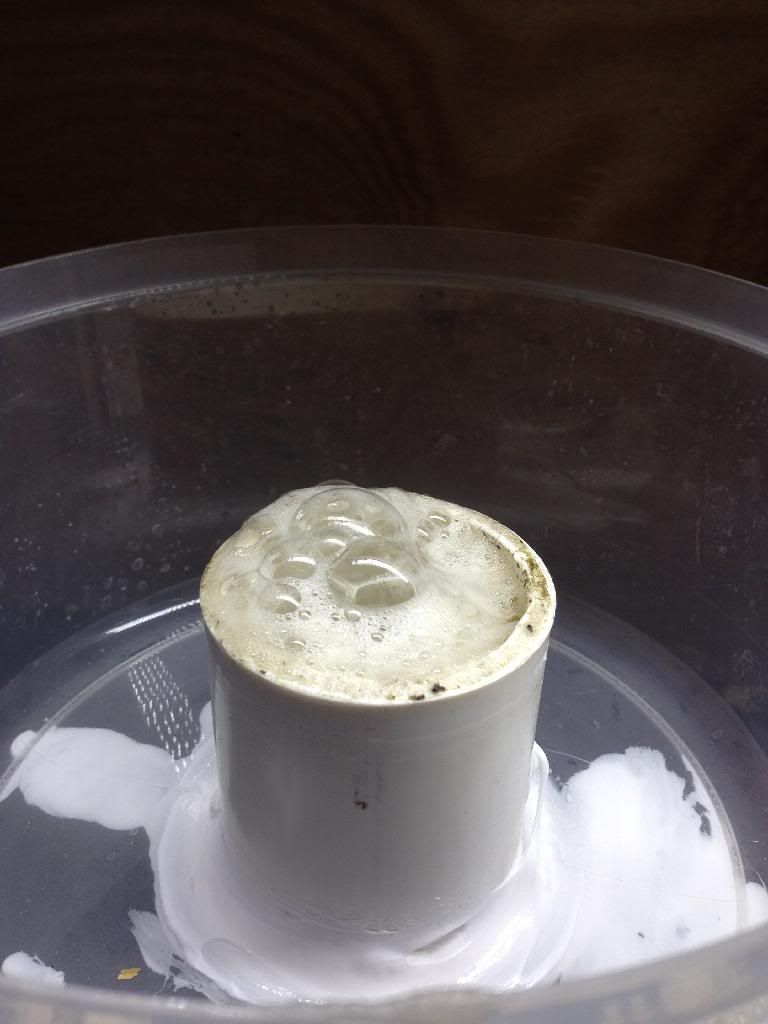 I used a small pump I had for the supply pump I haven't measured but it looks like I'm putting about 4-5 gal pet minuet through it with plenty of dwell time for the bubbles, i will post a pick of the junk it pulls out and how much once I get a good collection |
|
|
|
Post by jasonandsarah on Jan 2, 2014 11:17:27 GMT -5
That's awesome great build and great innovation!!! What pumps are you running on it?
|
|
|
|
Post by foggman on Jan 2, 2014 16:16:43 GMT -5
Thank you, I am running a small power head for the supply water, and for needle wheels I'm running a Red Sea pump I got from easy used and my old return pump from my 46, just stuck an air line in the suction side of the pump it works great except I need to redirect the flow, it is to power full to point up like I have it now
|
|
|
|
Post by jasonandsarah on Jan 3, 2014 7:53:54 GMT -5
Could you add a ball valve so you can control the flow?
|
|
|
|
Post by foggman on Jan 3, 2014 9:10:52 GMT -5
Yes I can, however the I made the out put for the skimmer so I can just rais and lower it, I re adjusted the bigger pump last night and now it working much better
|
|
|
|
Post by gotareef on Jan 3, 2014 9:15:31 GMT -5
thats one big skimmer!!
the only problem I see is with the shape of the bottle, the bubbles will pop on the top of the bottle before they get to the neck of the skimmer to be exported into the collection cup
|
|
|
|
Post by foggman on Jan 3, 2014 9:50:16 GMT -5
The top creates a nice cone shape with no sharp edges, it seems to be sending out bubbles just fine
|
|
|
|
Post by jasonandsarah on Jan 3, 2014 9:54:44 GMT -5
I was thinking that too I mean you want to have a cone shape just like this bottle but a wider neck going to the collection cup would probably double your skimming especially over time as you'll get more in the cup and less stuck all over the sides that will have to be cleaned often, and could be a pain in the A$$ with current set up? Wonder if you could design a wider neck and somehow make it detachable for cleaning?
|
|
|
|
Post by jasonandsarah on Jan 3, 2014 10:42:42 GMT -5
|
|
|
|
Post by jasonandsarah on Jan 3, 2014 10:43:45 GMT -5
More of the same Attachments:

|
|


